Heroes 2: Monsters is the third screen of the north world. It opens once you push the red overworld crystal onto the blue button at the end of Heroes of Hauling. It adds monsters to the crystal puzzles and has 30 puzzles in ten groups.
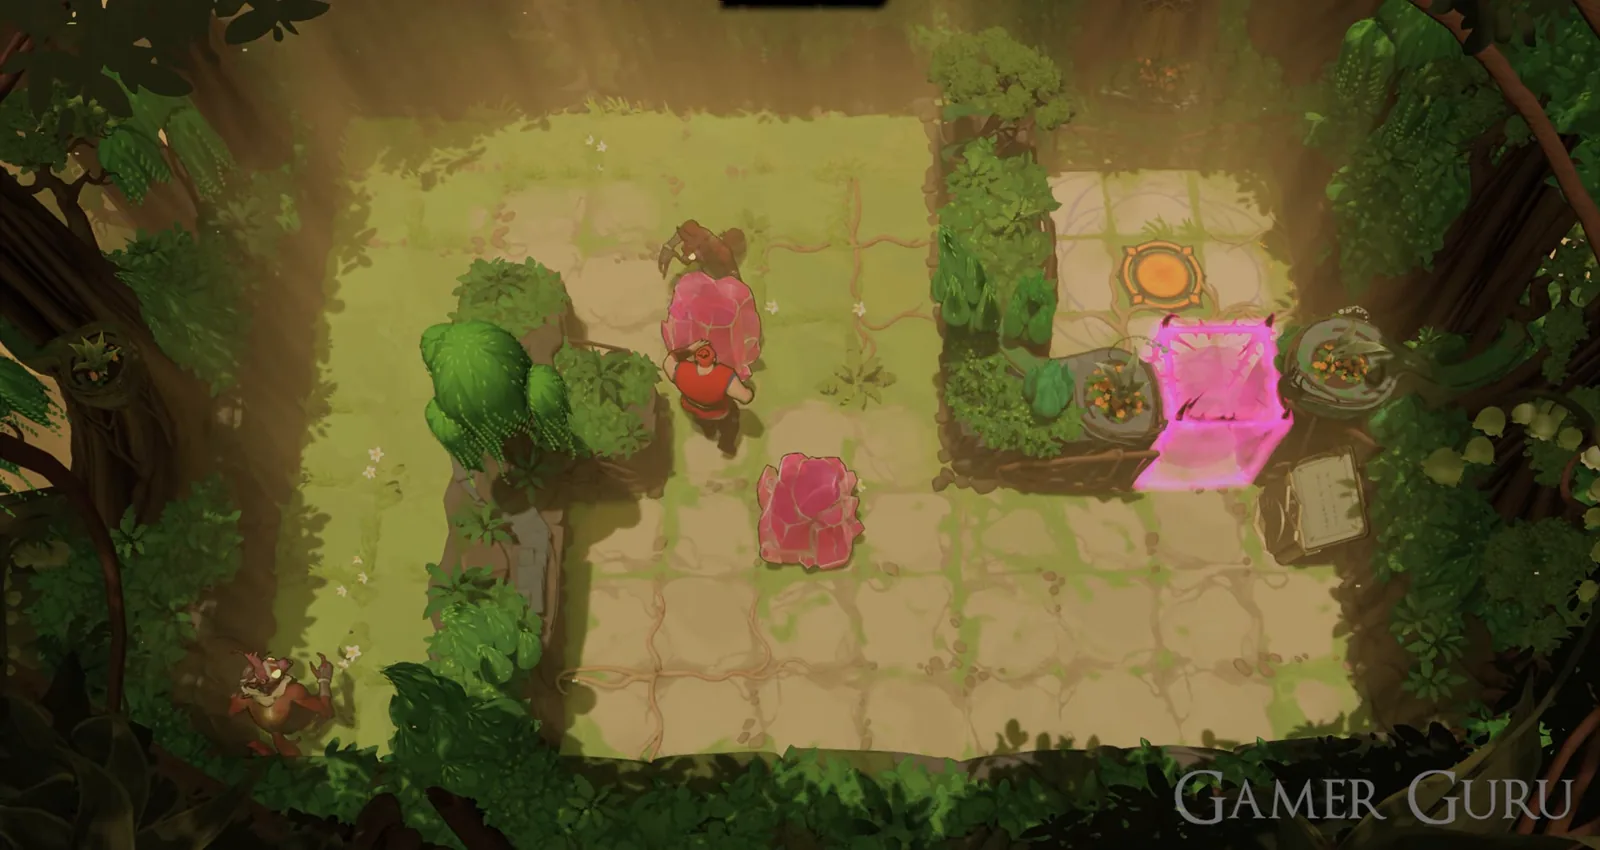
Monsters never fight you directly. They are puzzle pieces: melee goblins kill a hero standing next to them, ranged beasts fire along their line, and two monsters that hit each other are both removed.
How monsters work
- Melee monsters kill any hero on an adjacent square, so plan routes that stay a square away from them.
- Ranged monsters fire in a straight line. A crystal placed in the line blocks the shot.
- Push or pull monsters into each other's attacks to make them destroy each other. That is how most pink and yellow barriers in this area come down.
- Purple can swap places with monsters as well as crystals.
- From the top-right series onward the gold hero joins the party.
Clear order
| # | Group | Puzzles |
|---|---|---|
| 1 | Bottom-left series | 4 |
| 2 | Collect the map | - |
| 3 | Left series | 5 |
| 4 | Top-middle series | 3 |
| 5 | Top series | 3 |
| 6 | Top-left series | 3 |
| 7 | Top-right series | 6 |
| 8 | Bottom-right series | 3 |
| 9 | Far-right single | 1 |
| 10 | Top-right double | 2 |
How to read the steps: a direction on its own means one square. "x3" means three squares. "All the way" means keep moving until something stops you. Heroes are named by cloak colour, the way the game shows them: red pushes, green pulls, purple swaps places with whatever he presses toward.
Bottom-left series
Puzzle 1. As red: right three, up two, right five, then down, right, down, right to the teleporter.
Puzzle 2. Red only needs to walk. Weave down, right and up to the teleporter while never stopping next to a monster.
Puzzle 3. Green pulls the crystal onto the button, walks around it and pulls it again, then walks to the teleporter.
Puzzle 4. Purple walks a long route to the teleporter. The same rule applies: never end a move beside a monster.
The map. After the series, monsters appear on the overworld. Walk right two, down, right three, up five, left three and up to pick up the map.
Left series
- Puzzle 1. Push the crystal and the melee monster up so the left ranged monster kills the melee one. Then push the crystal up and left five to block the bottom ranged monster, and walk out.
- Puzzle 2. Zigzag down without stepping in front of the ranged monsters. Pull the bottom, middle and top monsters down one square each, slip behind the top one and go left to the teleporter.
- Puzzle 3. Pull monsters and crystals so every monster ends up blocked by a crystal. The last move pulls the crystal down to block the fourth monster. Then go down and left.
- Puzzle 4. Pull monsters and crystals so the monsters line up in pairs and destroy each other.
- Puzzle 5. Purple swaps with the crystal. Red and green then push and pull it until it blocks both monsters, and all three stand on the teleporters.
Top-middle and top series
All six puzzles here use the same idea. Push crystals around the monsters until a final push sends monsters into each other. In the top-middle series that lifts the pink barrier. The third top puzzle also uses swaps and buttons: it ends with a monster placed where the barrier stands, and the last move drops both the yellow and the pink barrier.
Top-left series
- Puzzle 1. From the top-left corner, push the ranged monster down to destroy the top melee monster, again to destroy the left one, and once more so it sits left of the left crystal. Push the right crystal beside the remaining melee monster and shove it left four. Then send the ranged monster up so the last two destroy each other.
- Puzzle 2. A chain of swaps: top monster, middle monster, then across to the left monster, the right monster, the bottom monster and the top monster twice. Step on the button, swap with the monster beneath you and walk to the teleporter.
- Puzzle 3. Red stands on the blue button. Green pulls the crystal left and down to make room, and red moves it down. Red pushes the ranged monster down, then moves to three squares above the crystal. Green pulls the crystal up to destroy the right melee monster. Red then drives green and the crystal down, green pulls the ranged monster up, green pulls the crystal up again and red pushes it onto the blue button.
Top-right series (gold joins)
- Puzzle 1. Walk straight to the teleporter.
- Puzzle 2. Move gold to the right edge of the corridor, swap purple into gold's spot and put one hero on each teleporter.
- Puzzle 3. Gold goes left, down three, right. Red moves between the monster and gold, where gold protects him, and pushes gold right. Gold goes up and red goes right to shove the yellow monster up. Gold then takes the left teleporter and red the right one.
- Puzzle 4. The longest in the series. Red shoves gold and the monsters around, repeating a bottom-left corner shuffle to reposition them, until red and gold can walk back to the bottom-right teleporters.
- Puzzle 5. Green pulls the top crystal onto its button, then the bottom crystal onto its button. Green takes the left teleporter, gold the bottom one.
- Puzzle 6. Green pulls gold to the far right and drags him back and forth to line up the final push. Gold goes up and left while green goes right and up. Gold heads right, green is pulled to the top, and both reach the teleporters.
Bottom-right series
- Puzzle 1. Purple runs a long swap sequence that makes the monsters destroy each other. Gold then takes the top teleporter and purple the bottom one.
- Puzzle 2. Gold steps up. Purple swaps with gold, then with the top-left monster, and the top monsters destroy each other. Gold steps down and purple repeats with the bottom-left monster.
- Puzzle 3. Gold and purple take turns. Gold stands where purple needs a swap point, and purple moves the top-middle, bottom-right and bottom-middle monsters into a line where they destroy each other.
Far-right single
Put purple and gold in position so two monsters destroy each other. Green pulls purple across, and purple moves under the top-right monster to destroy that pair. Use the top-left alcove to swap heroes so green can reach the crystal and drag it right. Purple and green then swap their way up with it. Finally gold stands beside green, green pulls gold to the teleporters, and all three step on.
Top-right double
First, on the overworld, push the red crystal into the line of the ranged monster that guards the top-right area. Once the shot is blocked you can walk in.
- Puzzle 1. Purple swaps the crystals onto their buttons one at a time, while gold and green stand where he needs swap points. Each hero then takes a teleporter.
- Puzzle 2. Green pulls rocks and monsters until gold is free. Purple swaps with rocks and monsters to open red's exit, and red pushes the monsters down so they destroy each other. All four heroes reach the teleporters.
When all 30 puzzles are done, the top-right opening leads to Heroes 3: Bard, Druid.
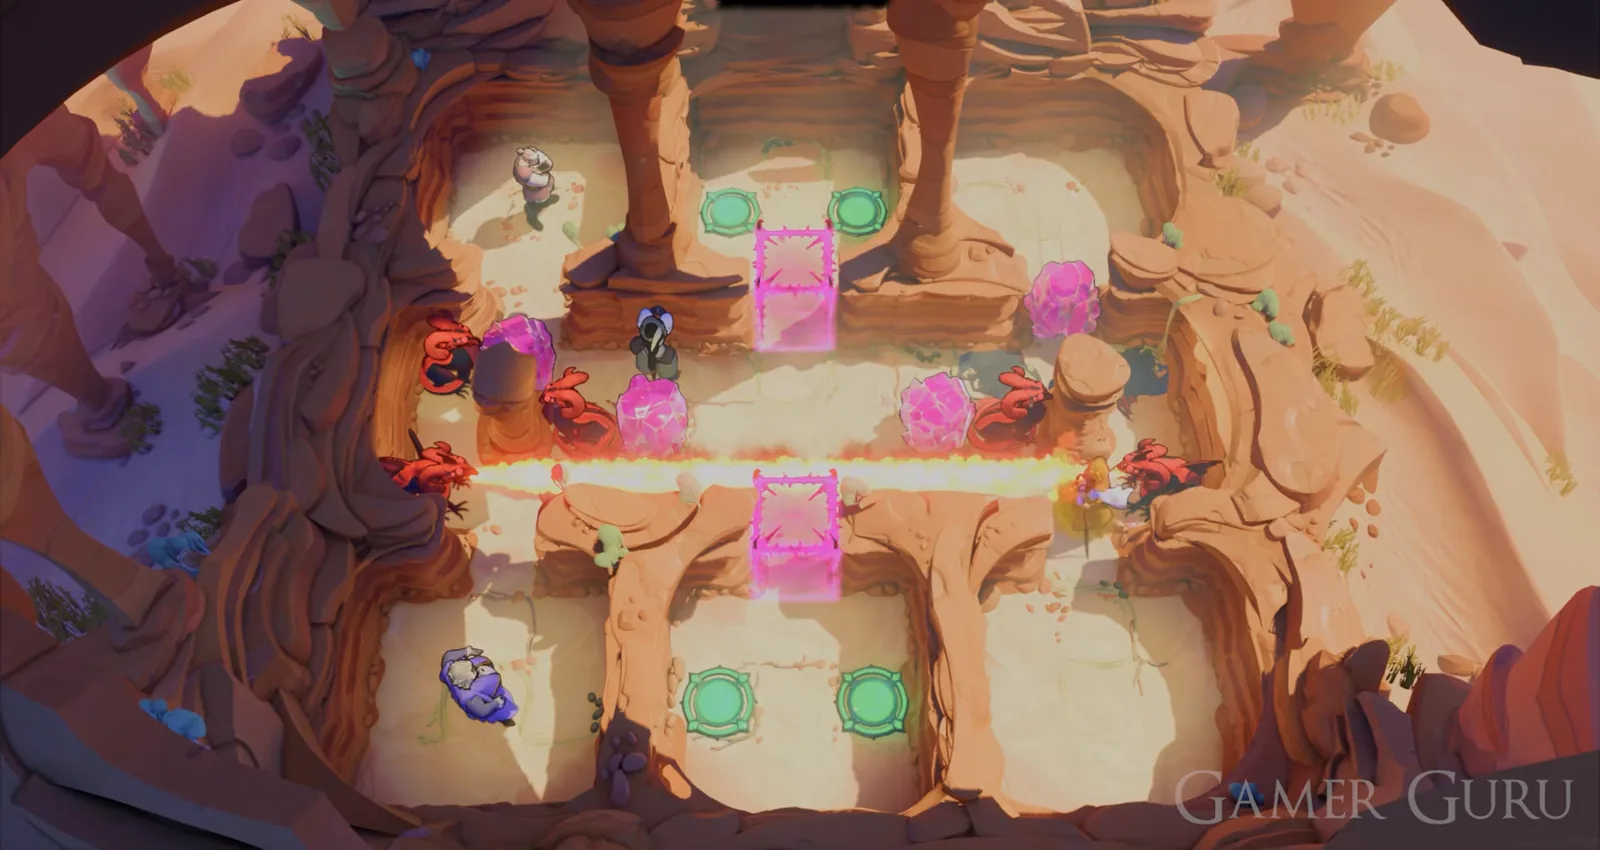
The final top-right double puzzle uses all four heroes. Clear the monsters in pairs before trying to move anyone toward the teleporters.
Video solutions
Gamer Guru's video numbers the puzzles 1 to 30 in the order shown above.
| Puzzle | Video time |
|---|---|
| 1 | 0:00 |
| 2 | 0:23 |
| 3 | 0:41 |
| 4 | 1:36 |
| 5 | 2:03 |
| 6 | 2:27 |
| 7 | 2:46 |
| 8 | 3:15 |
| 9 | 3:43 |
| 10 | 4:20 |
| 11 | 5:00 |
| 12 | 5:27 |
| 13 | 5:59 |
| 14 | 6:35 |
| 15 | 7:11 |
| 16 | 7:48 |
| 17 | 8:31 |
| 18 | 9:06 |
| 19 | 10:03 |
| 20 | 10:17 |
| 21 | 10:33 |
| 22 | 11:00 |
| 23 | 11:44 |
| 24 | 12:14 |
| 25 | 12:54 |
| 26 | 14:18 |
| 27 | 14:48 |
| 28 | 15:59 |
| 29 | 17:42 |
| 30 | 19:20 |