
The Vault of the Beamcasters is the west road from the Crossroads. Previews and the demo called this storyline The Promise. Here the explorer (Into Indie Games calls him the caver) collects gems and slots them into holders that power coloured beams. Most guides call it the hardest world to start with. Each level is one big gem hunt over two floors, not a set of separate rooms.
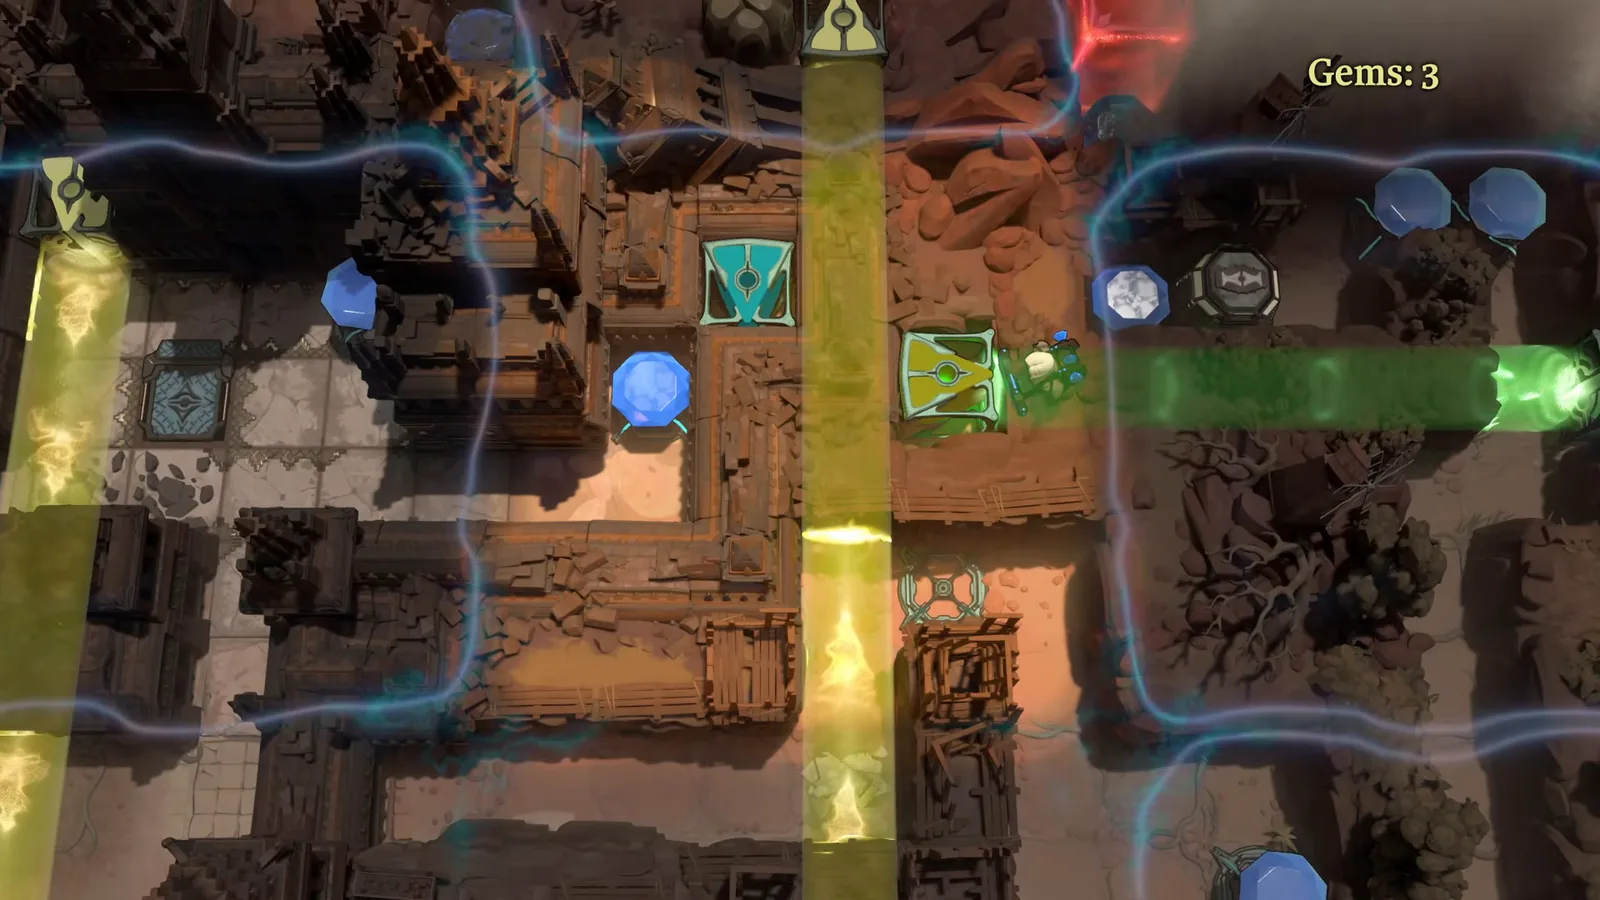
A gem in a holder powers that holder's beam. Taking the gem back switches the beam off again, so you are always moving a few gems between holders.
Beam colours
| Beam | What standing in it does |
|---|---|
| Yellow | Breaks rocks and moving devices in front of you |
| Red | Switches off red energy gates |
| Green | Lets you walk through walls |
| Orange | Teleports you one tile, even across walls and obstacles |
| Cyan / teal | Lets you push things (the explorer cannot push normally) |
| Violet / pink | Carries you to the far end of the beam. This is dangerous if nothing is waiting there. |
| Dark blue | Unknown. Into Indie Games reports a player who had not needed it after more than 100 hours. |
Overlapping beams give you several powers at once. The explorer cannot turn on the spot: he needs a free square to turn sideways.
Tools
- Rod (Level 1): found downstairs. GameRant calls it the Rod of Alabaster. It lets you push objects directly, but you cannot make normal 90-degree turns while using it.
- Lucite Torc (Level 2): found at a checkpoint on the lower floor. Use it while standing in a beam to rotate that beam toward the way you are facing.
Level 1: 20 gems
The aim is to bring all 20 gems to the holders on the lower floor. You collect them over several elevator trips between the two floors.
Upstairs, gems 1-12.
- Go up two screens and right into the alcove for the first gem. Power the holder beside the elevator to get a yellow beam, and break the rocks to reach the map.
- Use the teal beam to push rocks for gem 2. Yellow clears rocks and a moving device, and the orange and yellow beams together open the way to the next gems.
- Gems 6-9 come from teal and yellow working together on rocks, a green beam that lets you pass a wall, and a green beam combined with timing a moving device in the middle hallway.
- Gems 10-12: switch off the red barrier, teleport with orange, use the point where orange and yellow cross to enter an alcove, and pass the last wall with green.
- Take back every gem that is powering a holder and ride the elevator down with all 12.
Downstairs, gems 13-17. Insert the 12 gems to power the red beam and clear the barrier, then pick up the rod at the checkpoint. Use green and teal with rock pushes for the next gems. There is also an orb to pick up beside one of them. Push rocks and moving devices to open an alcove, and push a vertical device left past a red barrier for a gem three screens to the right. Collect everything and ride up.
Upstairs again, gems 18-20. In the top-left corridor, push the upper blocks and use the rod to move a horizontal device down for gem 18. Use the yellow and green beam network and push the green beam right to cross for gem 19. Reposition the bottom red beam and work through the green and red grid for gem 20.
Finish. Ride down, go two screens down and place all 20 gems in the holders.
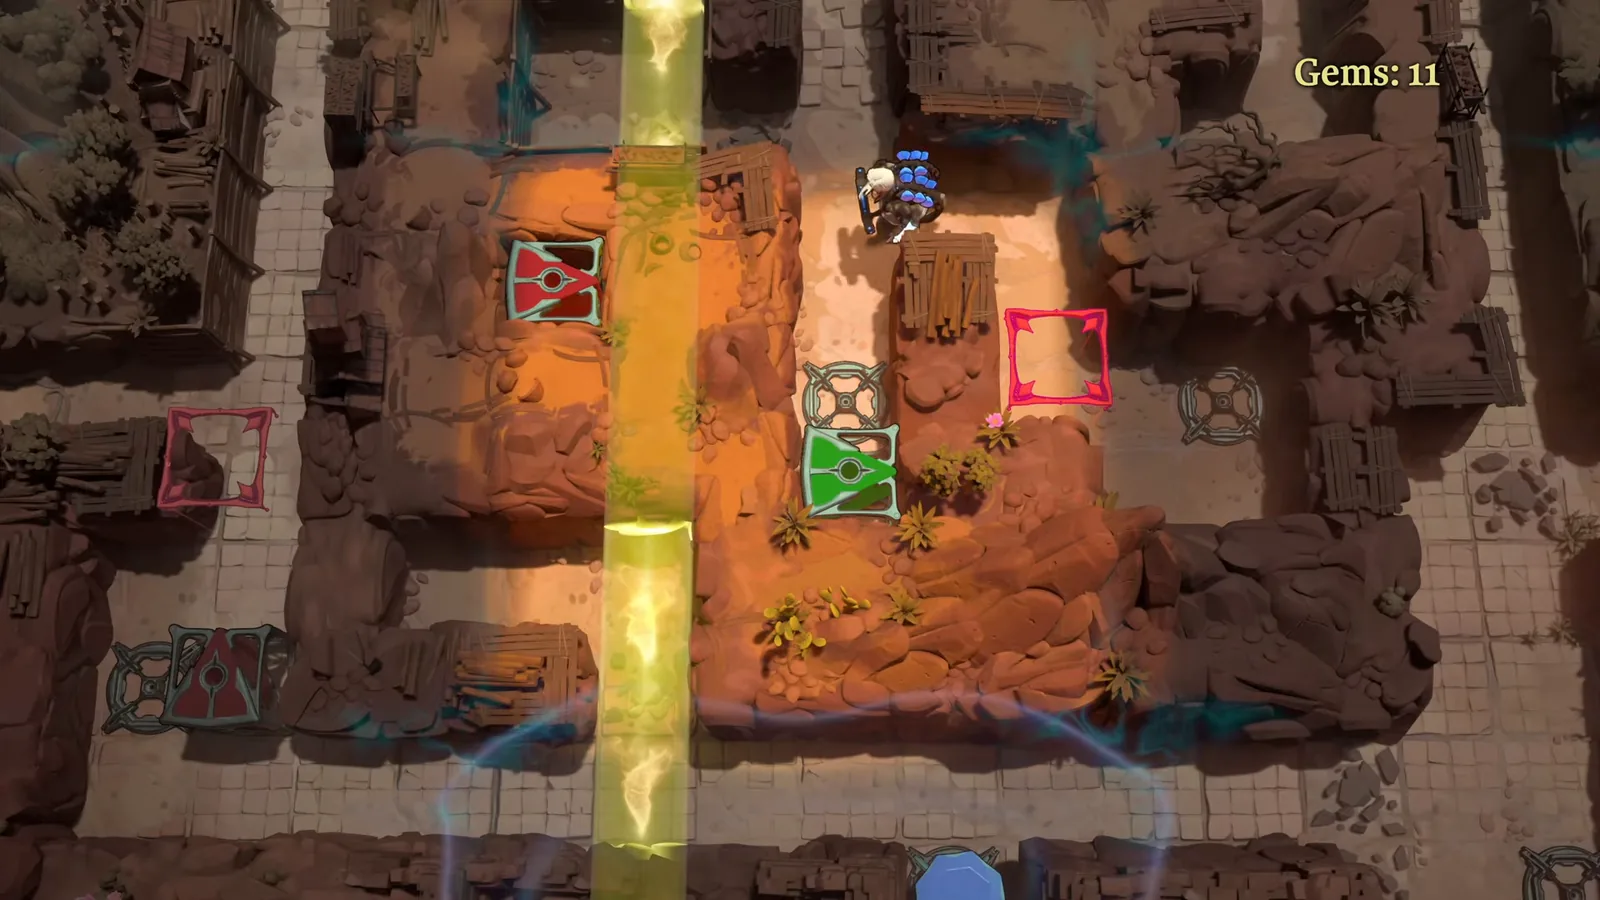
The gem counter in the corner shows how many gems you are carrying. Check it before taking the elevator, because a gem left behind in a holder upstairs means another trip.
Level 2: 22 gems
Level 2 also spans two floors. The gems all go into a holder in the lizard's room on the top floor. The route is nine gems on the top floor, eight on the lower floor once you have the Lucite Torc, then five more back upstairs.
Top floor, gems 1-9.
- Go right one screen and follow green into the map alcove for gem 1. Go up, slot a gem to start the pink beam and ride it to gem 2.
- In the elevator room, power the vertical orange beam, then the horizontal orange beam one screen up, and teleport into the alcove holding gem 3.
- Collect the gems powering orange and power several beams one screen left. Below, power the vertical pink beam for gem 4, clearing a barrier with red.
- Further down, yellow smashes two rocks and green plus red open the way to gem 5.
- Set up the left orange and vertical red beams, teleport past a red barrier for gem 6, ride pink right for gem 7, and follow green to the yellow junction for gem 8.
- Teleport down with the vertical pink beam, power orange in the elevator room, and go up two screens for gem 9. Collect the six gems still in holders and ride down with nine.
Lower floor, gems 10-17.
- Insert all nine gems to light red and drop the barrier, then take one gem back.
- Go right, power green through the wall and pick up the Lucite Torc at the checkpoint.
- Stand in red and use the torc facing right, then left, then up to drop the top barrier. Grab the map and the bottom-right gem.
- Aim pink up with the torc and ride it to the next gem. Aim green down (you need it later), restore red, and drop the left barrier.
- Power yellow and turn it down, up and left to smash rocks and bend the beam. Three screens right, break the moving device for a gem and the orange orb.
- Aim orange up then right, turn pink right for the next gem, redirect two pink beams and two orange beams for two more, then use red and green for the last two.
- Collect every gem still in a holder. With 17, ride back up.
Top floor again, last 5 gems. Power the beams one screen left, turn green right, then left at the lizard's room to drop a barrier for the first gem. Route green up and left to redirect yellow, and teleport into the yellow alcove with pink for the second. Turn yellow and red right, redirect orange and pink downward, and use orange, yellow and green for the last three. Collect the powering gems and put all 22 into the holder in the lizard's room.
Video
Lord Victor's release-week video covers the first section of the Vault: