The HxM Gold Room in the north-east corner of the map is where the Heroes and The Mirror Isles first meet. You need progress in both worlds to open it. Clearing it, plus the short series after it, opens the way to Heroes and Water and Heroes and Mirrors. Solving the room earns the Gold HxM trophy.
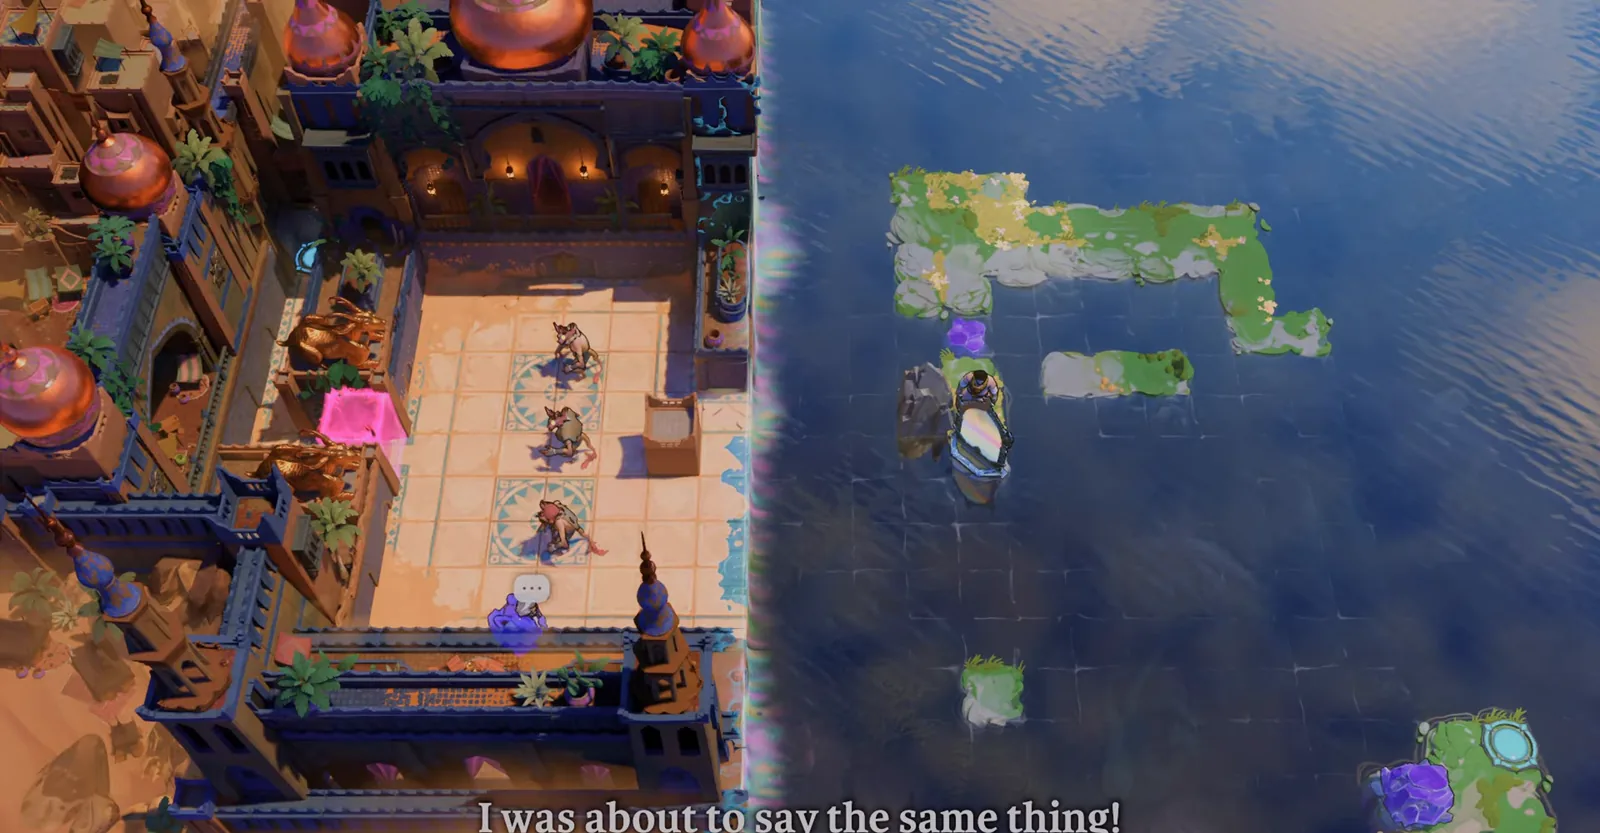
In the gold room the Heroes rules and the mirror rules apply at the same time. Anything purple swaps into place, including a monster, can then be sent through the mirror.
What you need first
- A golden mirror in The Mirror Isles. Solve every puzzle series on the second Mirror Isles screen. Then move the pink crystal on the bottom landmass left, down, right two, down, right four and send it through the mirror. Stand at the end of the lower landmass's upper prong to follow it, and push the crystal up to open the screen above. Solve puzzle 1 below there to unlock an overworld mirror. Then use the two-mirror chain to reach the left landmass and go left to the next screen. Solving that screen's series (puzzles 2-4 below) unlocks the golden mirror.
- A path from Heroes 3. In Heroes 3: Bard, Druid, solve the puzzle below the ranged monster on the right. Then follow the new path all the way down to the landmass across from the golden mirror.
The Mirror Isles puzzles on the way (puzzle 1, then the 2-4 series)
- Push the bottom mirror right, all the way up and right, then step left to reach the top platform. Push the top mirror up, left, all the way down and all the way left. Step right twice to chain back down, then go down, left six and up to chain to the teleporter.
- Push the middle mirror up four and left four, step right six to reach the bottom mirror, and push the stone up to join the middle and bottom landmasses. Push the bottom mirror right five, up six and left. From the middle mirror's column, chain to the top landmass and push the stone down. Then push the bottom mirror down and all the way left, and the top mirror right, down three and all the way left. Chain to the teleporter.
- Step up to the middle landmass, then left five, down three, left two to reach the left landmass. Push the top mirror up four and the bottom mirror up three. Go all the way right in the top mirror's row twice: once to return and once to reach the teleporter.
- Push the top mirror left and down four, and the other mirror left and down. Chain to the crystal's landmass and move the crystal to its top-left square. Chain back, push the left mirror down, push the other up and left, and send the crystal through so it sinks above the teleporter landmass. Push the top mirror left, then go all the way up to teleport onto the crystal.
Opening the room
- Walk through the opening with the green robe to become green.
- Pull the yellow crystal down three, left, down, right onto the bottom yellow button. The first of three yellow barriers opens.
- Walk through, then send the crystal through the mirror to open the second barrier. Walk through and send it back to open the third.
- Follow the path to the gold room.
Gold room solution
You switch between the trader (orange) and purple. Purple's job is to use swaps to line the three monsters up so that one trip through the mirror makes them destroy each other.
- As orange, send the purple crystal through the mirror and push it left. Follow it through, push the mirror left two, down, right so it sits above the crystal, and send the crystal through.
- Push the mirror left two to the crystal's right, send the crystal through, move the mirror right and push the crystal down to open a path to the three land tiles below. Push the mirror left and down five to the bottom of those tiles.
- As purple, go all the way down and right two, below the bottom monster, and press up to swap. Go all the way right and all the way down and press left to swap again.
- Without swapping, walk left, up two, right four, up two to the right of the post across from the mirror. Press down to swap with the monster, and the monster goes through the mirror.
- Go left three under the middle monster and press up. Walk right, down, right two, down three to the bottom-right corner and press left. Walk left, up three, right four and press down.
- Go all the way left, all the way up and right three above the top monster and press down. From the top-left corner (left three, up two) press right. Walk down three, left three and swap again.
- Walk all the way right, down three, right, and press left to swap with the top monster. Two monsters now share a column with a gap between them.
- Send the third monster back through the mirror. All three destroy each other.
- As orange, push the mirror down. As purple, stand right of the pillar on the platform and press right to swap with orange, putting orange on the left teleporter.
- Purple walks to the bottom-right corner of the top landmass and presses down to swap with the crystal beside the bottom-right teleporter.
The two-puzzle series
A crystal appears on the overworld after the room. Push it up to reach the upper platform.
- Puzzle 1. Push the crystal onto the blue button to flip the blue barriers. Push the crystal now reachable on the left onto the pink button, then push the first crystal off the blue button. The right teleporter opens.
- Puzzle 2. Push the crystal down to reach the bottom-left landmass. Sink the top crystal by pushing it right and push the other across it to the bottom-middle landmass. Push a crystal right and up to reach the top-middle, and another down five and right two to reach the bottom-right. Push the two-crystal row left across the bottom-middle path, then push each one up to the top-middle landmass to finish the path to the teleporter.
Where to go next
- Heroes and Mirrors: finishing the series unlocks a crystal on the golden platform. Push it right to enter.
- Heroes and Water: a crystal unlocks left of the series. Push it left four, down, right, up, all the way right, then up to reach the top-right of the map.