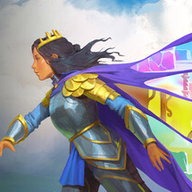
Heroes and Water lies in the north-east, beyond the HxM Gold Room. It mixes the Heroes party with water: crystals and monsters sink, sunken crystals become floor, and the gold cloak crosses water by walking in a monster's flame. The area has 26 puzzles.
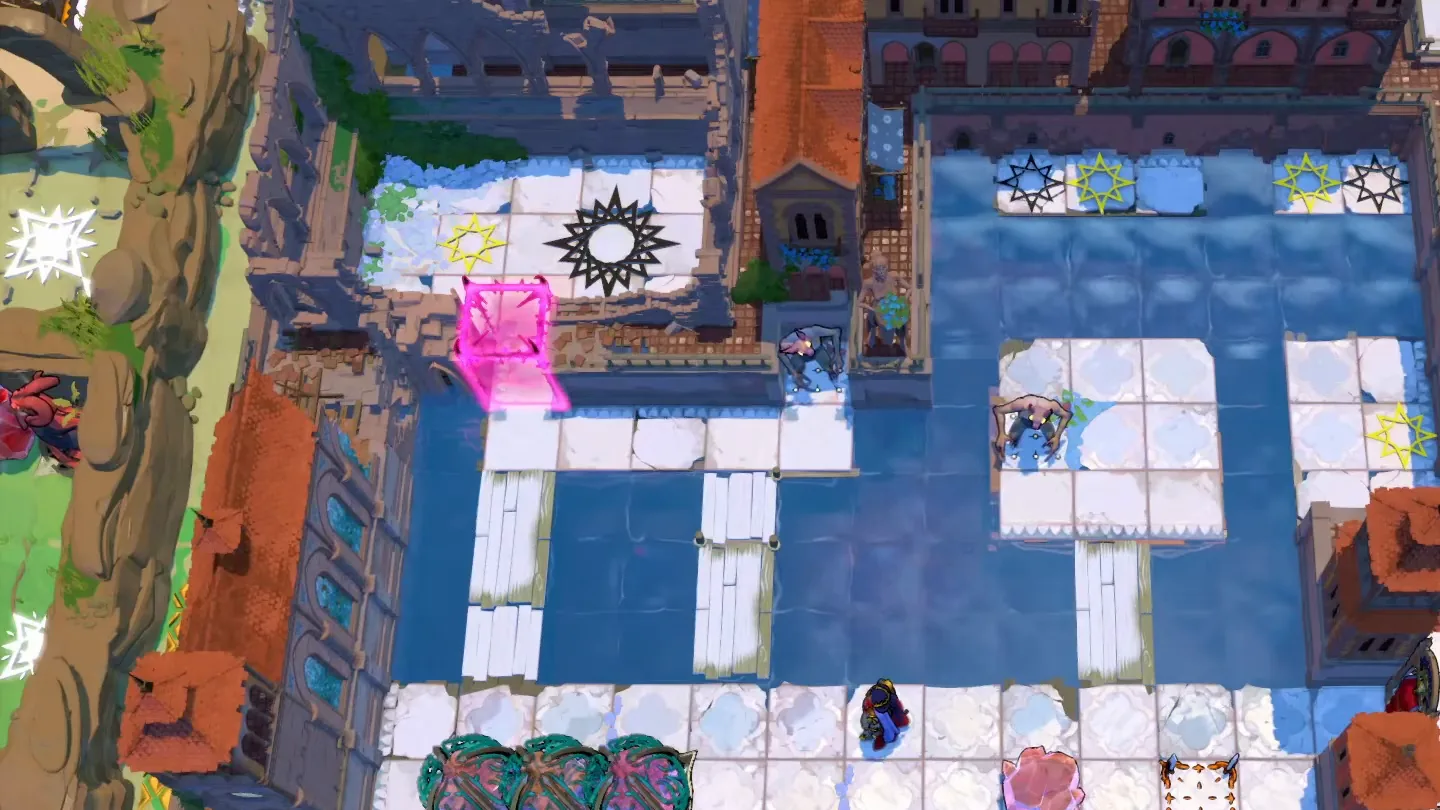
Pre-release footage of a Heroes and Water screen. Anything pushed off the white floor sinks and becomes a walkable square, so the order of what you sink is often the whole puzzle.
Getting in
Finish the HxM Gold Room and its two-puzzle series. A crystal unlocks to the left of that series. Push it left four, down, right, up, all the way right, then up to open the route.
Abilities used here
| Hero | Use in this area |
|---|---|
| Red | Pushes crystals and monsters, including into water |
| Green | Pulls crystals and monsters |
| Purple | Swaps with monsters and crystals to put them on buttons |
| Gold | Walks on water while a monster's flame is hitting him |
| Druid | Turns a monster into a crystal |
| Bard | Carries a crystal or monster in her aura and drops it into gaps |
| Screen | Puzzles | Focus |
|---|---|---|
| Screen 1 | 7 (right single, top-middle 2, top-right 2, top-left 2) | Red and green |
| Screen 2 | 3 | Purple's swaps |
| Screen 3 top | 11 (top-left 4, top-right 2, middle 2, bottom-right 3) | Gold's water walk |
| Screen 4 | 2 | Bard's aura |
| Screen 3 bottom | 3 | Everything combined |
How to read the steps: a direction on its own means one square. "x3" means three squares. "All the way" means keep moving until something stops you. Heroes are named by cloak colour, the way the game shows them: red pushes, green pulls, purple swaps places with whatever he presses toward.
Screen 1
Take the red cloak at the top entrance. A reset tile sits just right of the cloak entrances. Before each series, use red and green on the central platform to push its monster off and move crystals into place. Every finished series unlocks another overworld crystal that leads to the next one.
Right single. Red and green walk five crystals over one by one. Green pulls each crystal down two and left along the row, and red pushes it into the gap. The first three crystals sink as stepping squares and fill the wooden gap. The fourth fills the gap in front of the right teleporter. The fifth goes onto the right teleporter and is then pulled back and pushed left two into the left teleporter's gap.
Top-middle 1. Push the right crystal left three to knock a monster into the water, and the top crystal all the way up for another. Move the right crystal above the left monster and push that column all the way down. Then move the left crystal right of the bottom monster and push the row all the way left, so the monsters hit each other and the barrier lifts.
Top-middle 2. This is a chain of monster pushes. Push the left-facing monster left two and the right-facing one right two. Push the right-facing monster up five, which destroys the right monsters and the top-left one. Push the up-facing monster right four. Clear the remaining left and bottom monsters, sinking each attacker in the water once it has done its job. The last push puts the up-facing monster into the water and opens the teleporter path.
Top-right 1 (two greens). Green 1 stands on the pink button. Green 2 pulls the central crystal onto the raised pink barrier, and when green 1 steps off it drops into a permanent square. Repeat with the blue button: green 2 pulls two crystals onto the blue barriers (left five and up, then left six and down), and green 1 steps off to fix the path.
Top-right 2. Purple goes down, left two and presses down to swap with the crystal. Green pulls it onto the pink button. Purple stands on yellow, green goes below-right of the blue button, and purple stands on blue and presses up to swap. Green pulls that crystal onto yellow, and purple presses right from the blue button to let both reach the teleporters.
Top-left 1. Steer the top crystal down two, right seven, down, right three, up and right so it sinks where the pink barrier is down, without touching the pink button. Cross it, push the monster into the water on the left, then walk the last crystal on a long route around the pink button until it sinks in front of the teleporter.
Top-left 2. Green holds the green button while red pushes the left-facing monster up beside the crystal. Then red and green take turns on the green button to move the down-facing monster onto the blue-button platform and finally onto the green button. Push the crystal onto the blue barriers and bring both heroes to the blue-button platform. Pressing blue destroys the crystal, the left-facing monster fires into the down-facing one, and the teleporters open. Leave through the top-right of the screen.
Screen 2 (purple)
Getting to puzzle 1. From the reset square, purple swaps the two monsters back and forth in a long sequence until monster 2 sits on the left button and monster 1 on the right one. That drops the first yellow barrier.
Puzzle 1. Purple swaps a single crystal ten times around the room, moving between swaps without touching anything else. The tenth swap, pressing right after up, right, down, puts the crystal on the button.
Puzzle 2. Purple swaps crystals into red's reach, and red pushes them into the water to build stepping squares. Purple then swaps the platform crystals around until red can push one down and all the way left. That sinks it and makes a path to the teleporter platform. Finally purple swaps with the teleporter-platform crystal so both heroes can step on.
Puzzle 3. Purple swaps with the monster, and green pulls it up. Purple takes the pink button while green crosses to the middle platform. Purple swaps the monster into place, green takes the pink button, and purple stands right of the pink barrier and swaps the monster onto it. When green steps off the button, the barrier rises and crushes the monster. Then push the top-right overworld crystal up to reach Screen 3.
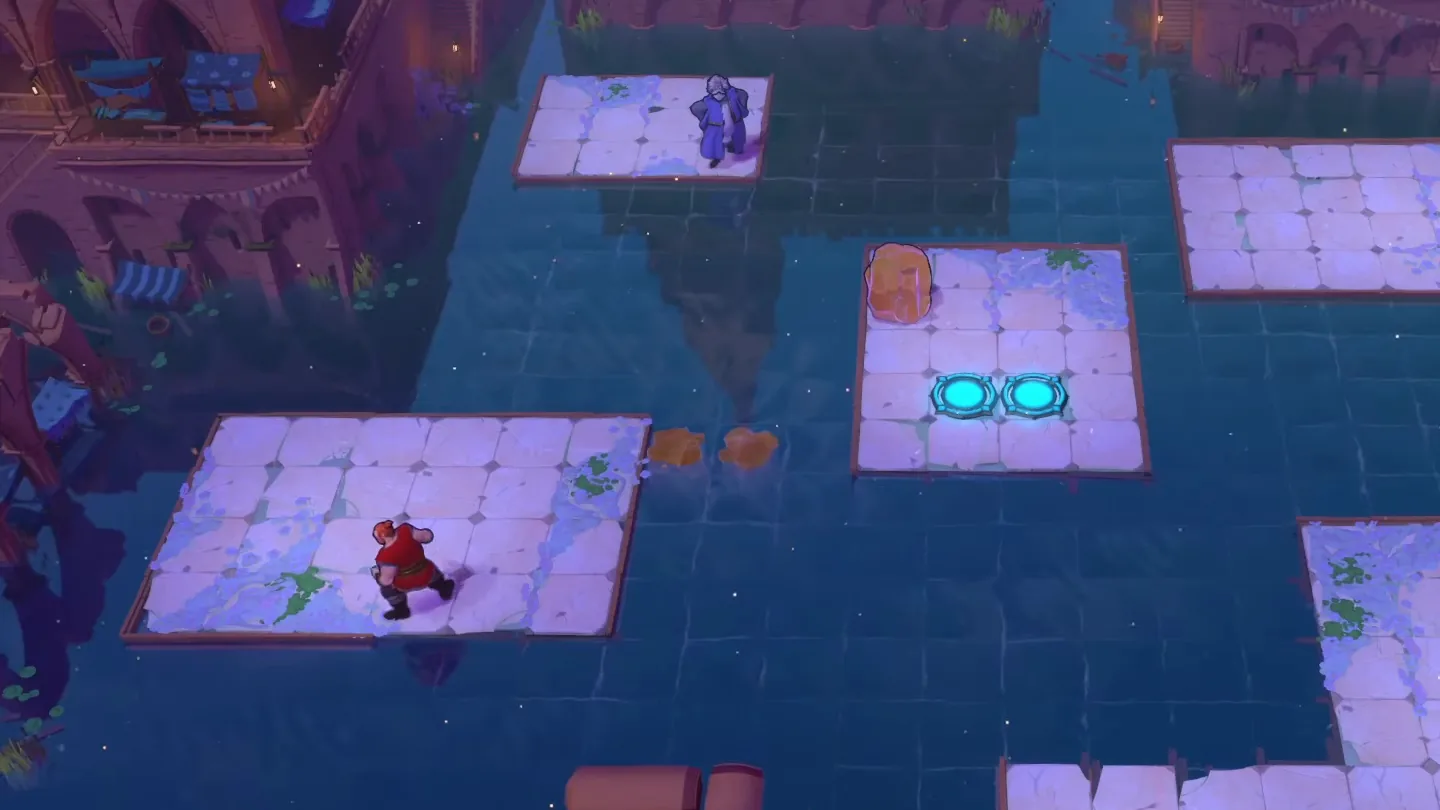
Pre-release footage of separate floating platforms. On these screens gold only crosses the water while a monster's flame is hitting him, so place each monster before you send gold over.
Screen 3 top (gold)
Top-left 1-2. Puzzle 1 shows that gold can cross water inside a monster's flame. Puzzle 2 is one long walk that follows the flames to the teleporter.
Top-left 3. Red pushes the monster down. Gold stands right of it with one gap, red steps between them and pushes gold right six. Gold goes all the way right, and green pulls gold back left five so green can reach her teleporter.
Top-left 4. Red pushes the monster left in small steps while gold moves through its flame each time. When they meet, red pushes gold down six and left onto the top teleporter, and gold steps down to the bottom one.
Top-right 1. Purple swaps with the monster and with gold to move them both. Gold walks up and down the flame to cross between platforms. The last swap pushes the monster into the water and opens both teleporters.
Top-right 2. Green pulls the monsters into new firing lines while gold stands in the flames to free her, then green drags gold onto the teleporter with her.
Middle 1-2. In the first, green pulls gold and the monster until each flame points where gold must go. The second shuttles gold and three monsters across three platforms: red pushes gold and the monster rows in turn until both heroes reach the teleporters.
Bottom-right 1. Green pulls monsters into place and gold blocks one flame. The druid turns monsters into crystals and green drops them into the water to finish the path. The last transformation drops the barriers.
Bottom-right 2. One gold hero holds the blue button while the other escapes along a monster's flame. Red pushes monsters onto the blue and green buttons, and gold steps off at the end so the monsters destroy each other.
Bottom-right 3. Purple swaps the monsters into place, then red pushes gold and green pulls him onto the right platform twice, with purple swapping in between. A final swap gives all four access to the teleporters. Then go back to Screen 2 and head right to Screen 4.
Screen 4 (bard)
Reaching puzzle 1. Enter through the bottom gate in the crystal's row, leave through the middle gate so the crystal stays in the middle row, and come back in through the bottom gate.
Puzzle 1. The bard carries one crystal in her aura across the room and drops it into gaps in the water to cross. The trick is changing which corner of the aura the crystal sits in: step away from it, then step back. Work toward the teleporter one water gap at a time.
Puzzle 2. The bard carries the bottom crystal across and drops it into the water right of red. Red pushes the bard up two. The bard takes the other crystal to the left of the top teleporter. Red pushes the bard all the way down and onto the sunken crystal. Red takes the top teleporter and the bard the bottom one. This unlocks an overworld crystal: carry it with the bard and drop it under the water square that blocks the path up, then push it up to reach the bottom of Screen 3.
Screen 3 bottom
- Puzzle 1. Purple swaps with the bard to move her around. The bard carries crystals to bridge the platforms, and the last one goes left of the right teleporter. The bard takes the right teleporter and purple the left.
- Puzzle 2. The bard catches a monster and carries it until it touches the wall. Gold stands under it, and the bard drags both left, then pushes the monster into the row above her. Gold steps down and the bard leads both onto the teleporters.
- Puzzle 3. The bard follows monster flames from one platform to the next, catches the right-facing monster and later the up-facing one, and drops it off the teleporter.
Clearing these three opens every teleporter and finishes the area.