Heroes and Mirrors is the second area behind the HxM Gold Room. Here the Heroes party has to work with the trader's mirrors from The Mirror Isles. It runs across seven screens with about 34 puzzles. Puzzles are long, so this page gives the plan for each one. Use undo freely while you work out the exact moves.
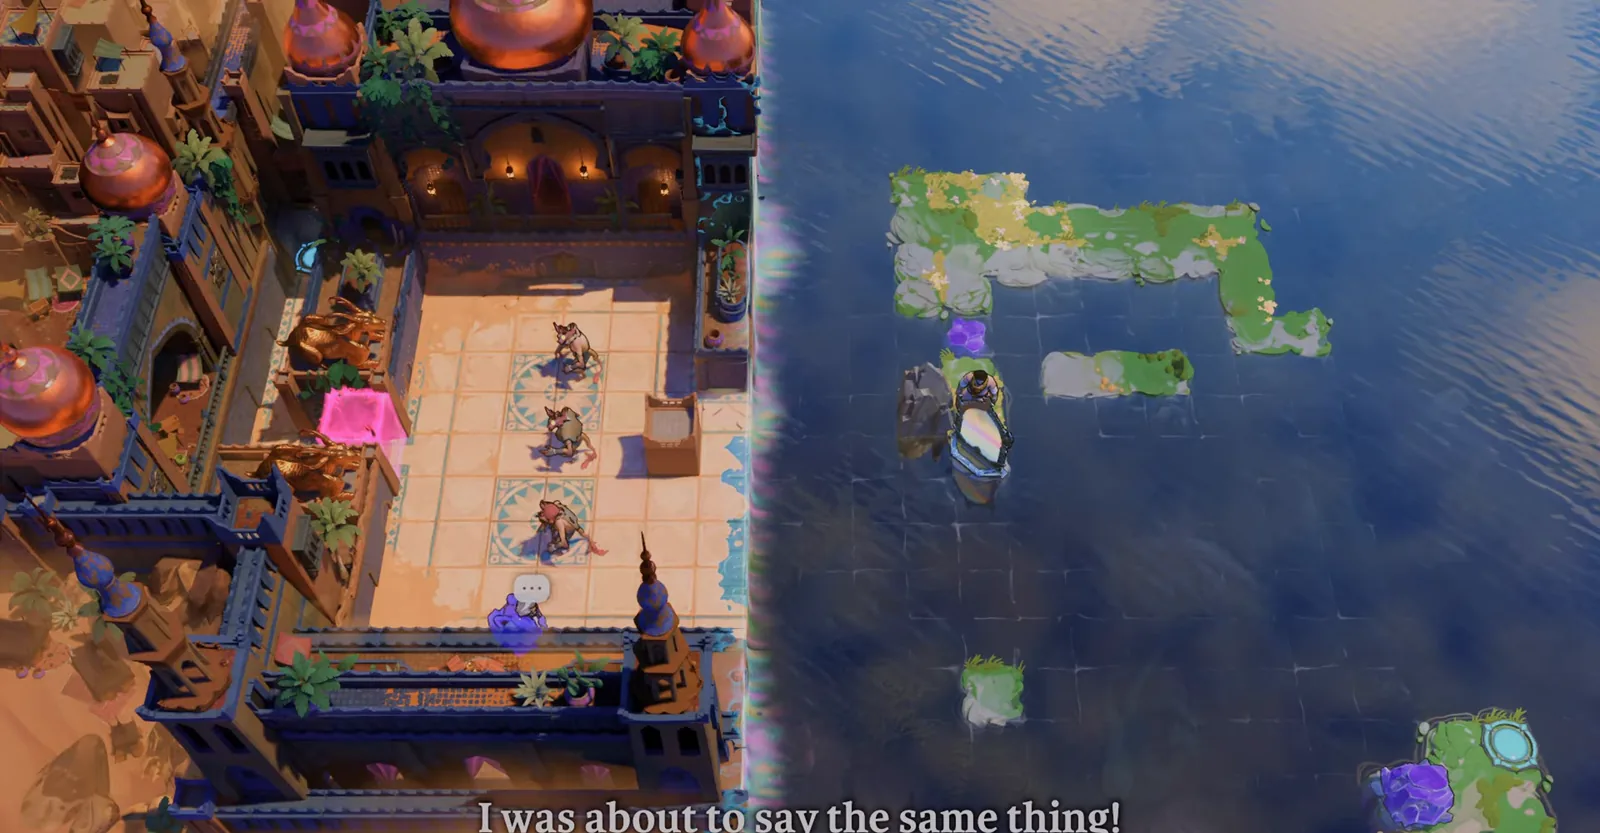
Heroes and Mirrors builds on the gold room's idea. Heroes push, pull or swap things into a mirror's line, and the mirror sends them across the water.
Getting in
Clear the HxM Gold Room and its two-puzzle series. That unlocks a crystal on the golden platform. Push it right to form the path into the area.
How mirrors work with heroes
- Mirrors can be pushed by red or pulled by green. In The Mirror Isles the trader can only push them, but here the heroes' own powers apply. Using one sends a hero, crystal or monster along its line.
- Anything standing in a mirror's path blocks it. Heroes are often used as blockers.
- A monster sent through a mirror keeps attacking, so you can aim it at other monsters.
- Gold walks in monster flame to get under mirrors that are over water.
- A reset tile in the lower-left of Screen 2 resets the bottom-left mirror.
Screen by screen
| Screen | Puzzles | What it teaches |
|---|---|---|
| 1 | 6 | Opens only after Screen 2's middle puzzle drops the corridor barrier. Mirrors carry crystals and green and orange onto buttons. |
| 2 | 9 | The bard's cloak passes the left landmass gate. Orange and gold block and redirect mirrors. |
| 3 | 6 | Gold follows monster fire under mirrors. The top-right puzzle 4 is the longest in the area. |
| 4 | 4 | The druid turns plants into crystals and monsters are sent through mirrors. |
| 5 | 3 | Fire monsters and mirrors redirect flame. Green, gold and orange pass through mirrors. |
| 6 | 1 | One puzzle across three rooms of monsters. It unlocks a mirror on Screen 5 that leads to Screen 7. |
| 7 | 5 | Purple swaps places with rocks and mirrors. |
Screen 2 (start here)
- Top-left 1-2: use the bottom-left mirror to reach the left landmass and take the bard's cloak. Send the bard and a crystal through the mirrors to the button platform. The second puzzle puts a crystal on the pink button and sends the bard through.
- Bottom-right 1: orange and gold take turns blocking mirrors so items cross between the left and right landmasses. This opens the bottom-right alcove.
- Top-right 1-3: pull mirrors up and down and send green through them. Puzzle 3 is a long run of crystal and mirror placements, and finishing it opens the middle puzzle.
- Middle: send a monster through mirrors onto the blue button while orange reaches the teleporter. This clears the barrier to Screen 1's corridor.
- Bottom-right 2-3: the druid turns plants into crystals and mirrors bring them together. Gold and orange then toggle the orange and green barriers.
Screen 1
Reset the Screen 2 tile, move the bottom-left mirror into place and stand on the blue button to open the way. The five bottom puzzles cover carrying the crystal across with a mirror, putting green and orange on their own buttons, using three mirrors in sequence, stacking crystals in water, and switching the green and pink barriers. The bottom-right puzzle ends with a crystal dropped under the teleporter.
Screen 3
Take the red cloak to push a mirror, then switch to the gold cloak and use the left monster's fire to get under it. In the top-left puzzle, gold travels through several mirrors and the monster fire changes his direction. In top-right 2, green pulls one mirror aside so the monster can be sent through, and that opens the bottom puzzle. In top-right 4, red and gold cross a chain of platforms, and the final push of a mirror turns the flame onto the last monster.
Screens 4 to 7
- Screen 4: the druid's plant-crystals and red's pushes sink rocks into the water. Monsters sent through mirrors destroy each other. The bottom-left puzzle ends with a monster dropped into the water, which opens Screen 5.
- Screen 5: push fire monsters and mirrors to bend flames onto the melee monsters. The middle puzzle needs green, gold and orange to pass through mirrors in turn.
- Screen 6: one puzzle spread over three rooms. Use the mirrors to clear the monsters in each room.
- Screen 7: purple swaps with rocks and with both ornate and plain mirrors. Each of the right, top-middle, left and bottom puzzles unlocks a mirror. The top puzzle is the last one in the area.