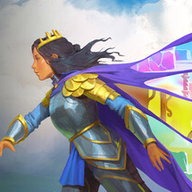
Heroes 3: Bard, Druid is the fourth screen of the north world, past Heroes 2: Monsters. It introduces two new heroes and ends with a puzzle that frees all six party members at once. GameRant's guide counts 24 puzzles here; the 100% Guides video numbers 25.
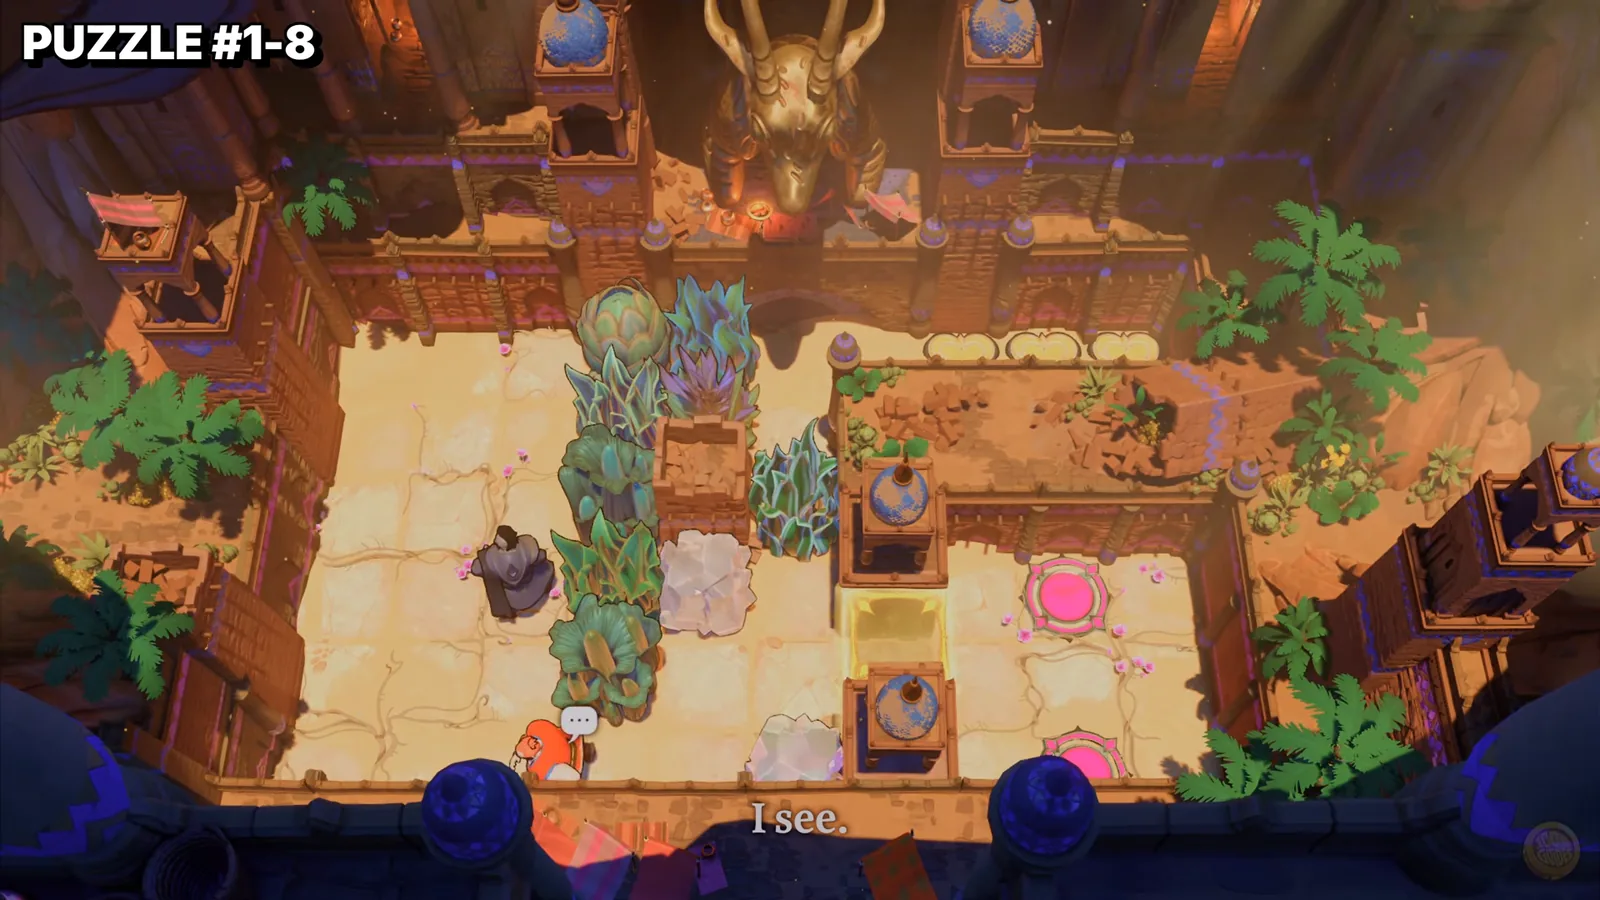
Plants are the druid's raw material. He turns a plant into a crystal you can push, and turns a crystal back into a plant when it is in the way.
The new heroes
| Hero | What the power does in practice |
|---|---|
| Druid | Turns living things into crystals: plants, monsters and even other heroes. Turns a crystal back into a plant. A monster turned to crystal can be pushed onto buttons and then changed back. |
| Bard | Her aura charms everything around her. Monsters and crystals inside it travel with her when she walks, and she can let them go again. Use her to carry monsters into each other's line of fire. |
Clear order and counts
| Step | Group | Puzzles |
|---|---|---|
| 1 | Bottom series | 9 |
| 2 | Top-left series | 4 |
| 3 | Left series (opens the map) | 6 |
| 4 | Remove the blue barrier (overworld) | - |
| 5 | Top-middle series | 3 |
| 6 | Block the monster with the red crystal (overworld) | - |
| 7 | Bottom-right single | 1 |
| 8 | Top-right single | 1 |
Bottom series (druid)
- Turn grass into stone and have green pull it onto the pink button. Turn it back, make a second stone and pull it between the teleporters. The druid takes the right teleporter.
- Druid turns plants into crystals and red pushes them into corners and onto buttons. Pushing the three-crystal row right onto the buttons opens the yellow barrier.
- Red and the druid push and transform the ranged and melee monsters, shuttling crystals until the monsters destroy each other and the pink barrier lifts.
- Druid makes crystals and purple swaps places with them to drop them onto the blue and yellow buttons.
- Turn every plant into a crystal and shift everything left and up to fill the top-left corner. Turn filled squares back into plants so purple does not swap with the wrong thing.
- Turn the right monster into a crystal and push it down. Line the heroes up so red pushes the row into the left monster, then the druid transforms that monster too.
- Turn the left monster into a crystal, push it under the right monster, then change it back so the two monsters destroy each other.
- The druid turns purple into a crystal and red blocks the ranged monster. Green pulls the purple crystal out of the column and the druid turns him back. All four go to the teleporters.
- Purple and the druid swap places, a plant becomes a crystal, and crystals and heroes are moved through the corridors. Purple ends on the bottom teleporter.
Top-left series (bard)
- Catch the left monster in the bard's aura, carry it down the corridor and pick up the other monster. Move so the two destroy each other.
- Carry one monster toward the path to the yellow button, then catch the second monster and set it on the button.
- Push the crystals into the hallway and the alcove with the aura in a set order, alternating rows so the bard does not grab the wrong crystal.
- Use the stone pillar to line both monsters up at the top of the aura, then step right so they destroy each other.
Left series
- Red stands beside the bard. The bard carries two monsters onto the buttons, then red pushes her to the teleporters.
- Green pulls each crystal onto its matching button, then pulls the bard to the teleporters.
- The bard catches green in her aura, and green pulls the bard into the middle teleporter alcove. Green moves above the bottom-left crystal and the bard catches her again.
- The longest one. The bard and purple shuttle a green crystal to its button one square at a time, using purple's swaps to reposition the bard.
- Carry two ranged monsters into position and use one to destroy the melee monster, then reposition both and leave.
- Move the bard and gold in order so the crystal is pushed onto the button.
Finishing the left series makes the map reachable.
Blue barrier and top-middle series
In the alcove right of the left series, switch between the druid and the bard. The druid makes and changes crystals and the bard carries them to the button. When a crystal sits on it, the blue barrier switches off.
- The bard and the druid get the monster onto the yellow button, swapping plants and crystals, then repeat until a crystal is on the pink button.
- Carry a monster into the top corridor and stack monster and crystal. Release the monster and turn the crystal into a plant when it blocks you.
- Red and green move crystals into place. The druid turns the monsters into crystals, which drops the pink barrier. The bard carries the purple crystal to where the barrier stood, then the druid restores the monsters.
Red crystal, bottom-right and the finale
Red crystal. Enter the alcove below the red crystal through its top opening to take the bard's power. Move all the way right, then all the way left, to bring the crystal over. Push it down the left series, across the bottom series, up through the old blue barrier and against the right side of the ranged monster to block it.
Bottom-right single. Move red, green and the druid aside and have the bard set a monster on the top-right yellow button. The druid turns green and the bard into crystals, and red pushes them onto buttons. The druid stands on the yellow button to drop the yellow barrier, and red pushes a crystal onto the pink button. Restore the bard and green, and all four leave.
Top-right single. All six heroes start locked in cells.
- Red walks up and out of his cell.
- The druid turns the plant blocking his cell into a crystal and red pushes it up to free him. Repeat for gold's cell.
- Line up gold, the druid and a monster so the monster becomes a crystal, then red pushes it down to free green.
- Turn the two plants blocking the bard into crystals and have green drag them clear.
- Tidy the crystals so they do not block paths, then free purple with the druid and the bard's aura. All six step onto the teleporters.
This completes the first Heroes campaign and unlocks its achievement. Separately, solving the puzzle below the ranged monster on the right opens a path down toward the HxM Gold Room. Finishing the top-right single also makes the extra Heroes of Hauling puzzle reachable.
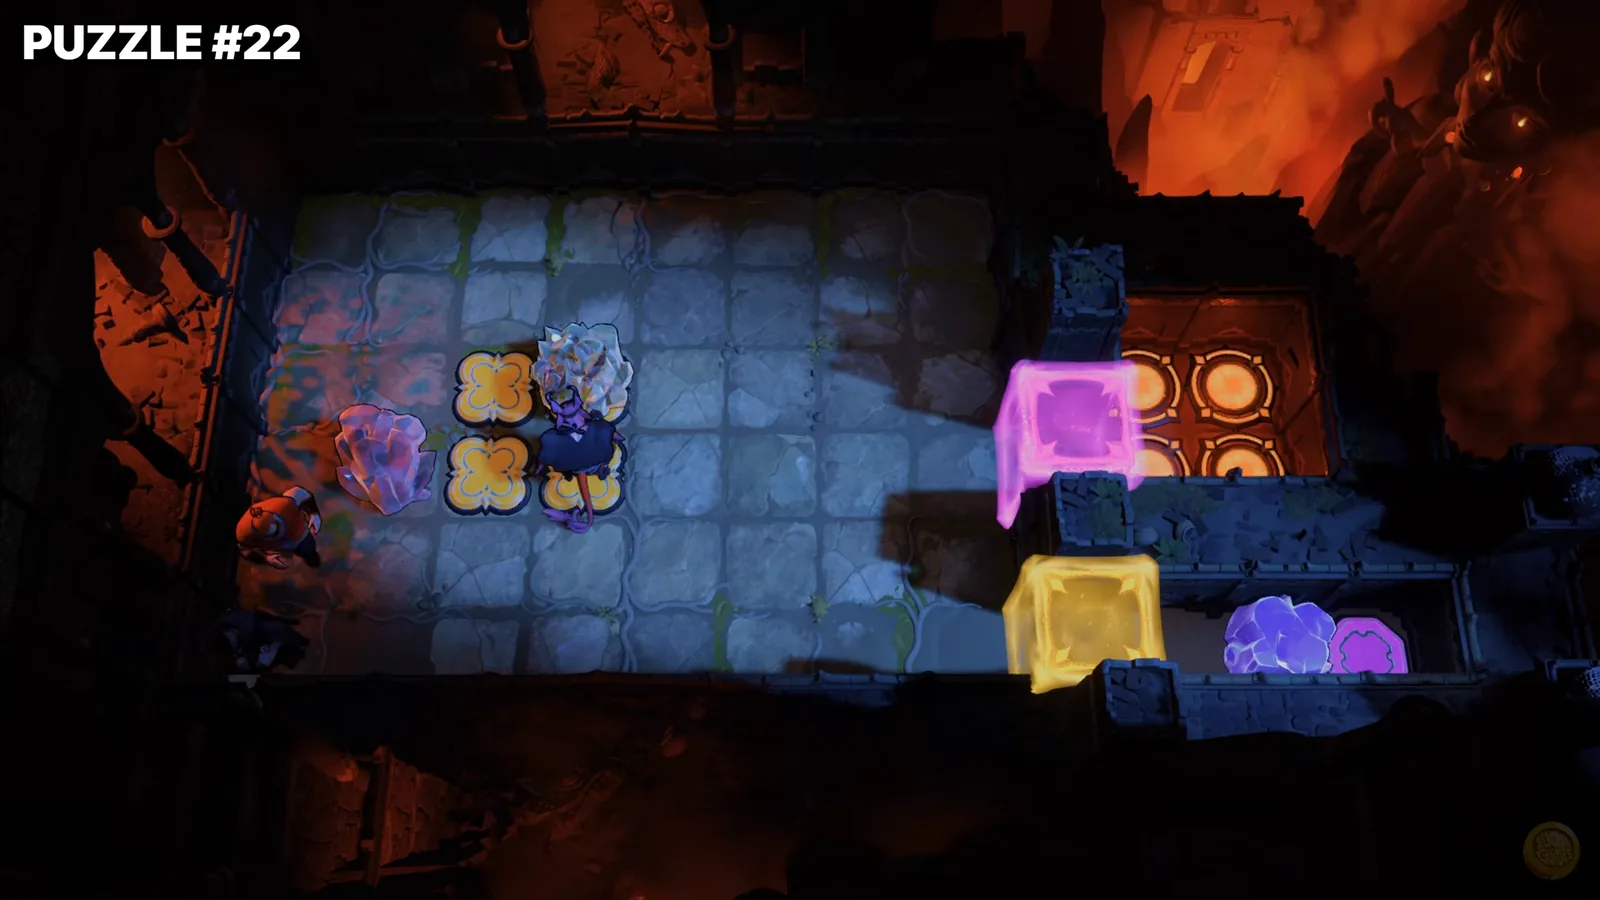
Late Heroes 3 rooms combine every hero. Before you move anyone, work out which crystal each button needs and which hero can actually reach it.
Video solutions
The 100% Guides video groups the puzzles in blocks:
| Puzzles | Video time |
|---|---|
| 1-8 | 0:00 |
| 9 | 8:30 |
| 10-13 | 9:21 |
| 14-19 | 10:55 |
| 20-21 | 15:09 |
| 22 | 17:29 |
| 23 | 19:17 |
| 24 | 21:38 |
| 25 | 22:54 |