The Hearty Heroes of Hauling is the north road from the Crossroads and the easiest place to start. It teaches the three founding heroes one at a time, then makes them work together. This page covers the first two screens. The next screens have their own pages: Heroes 2: Monsters and Heroes 3: Bard, Druid.
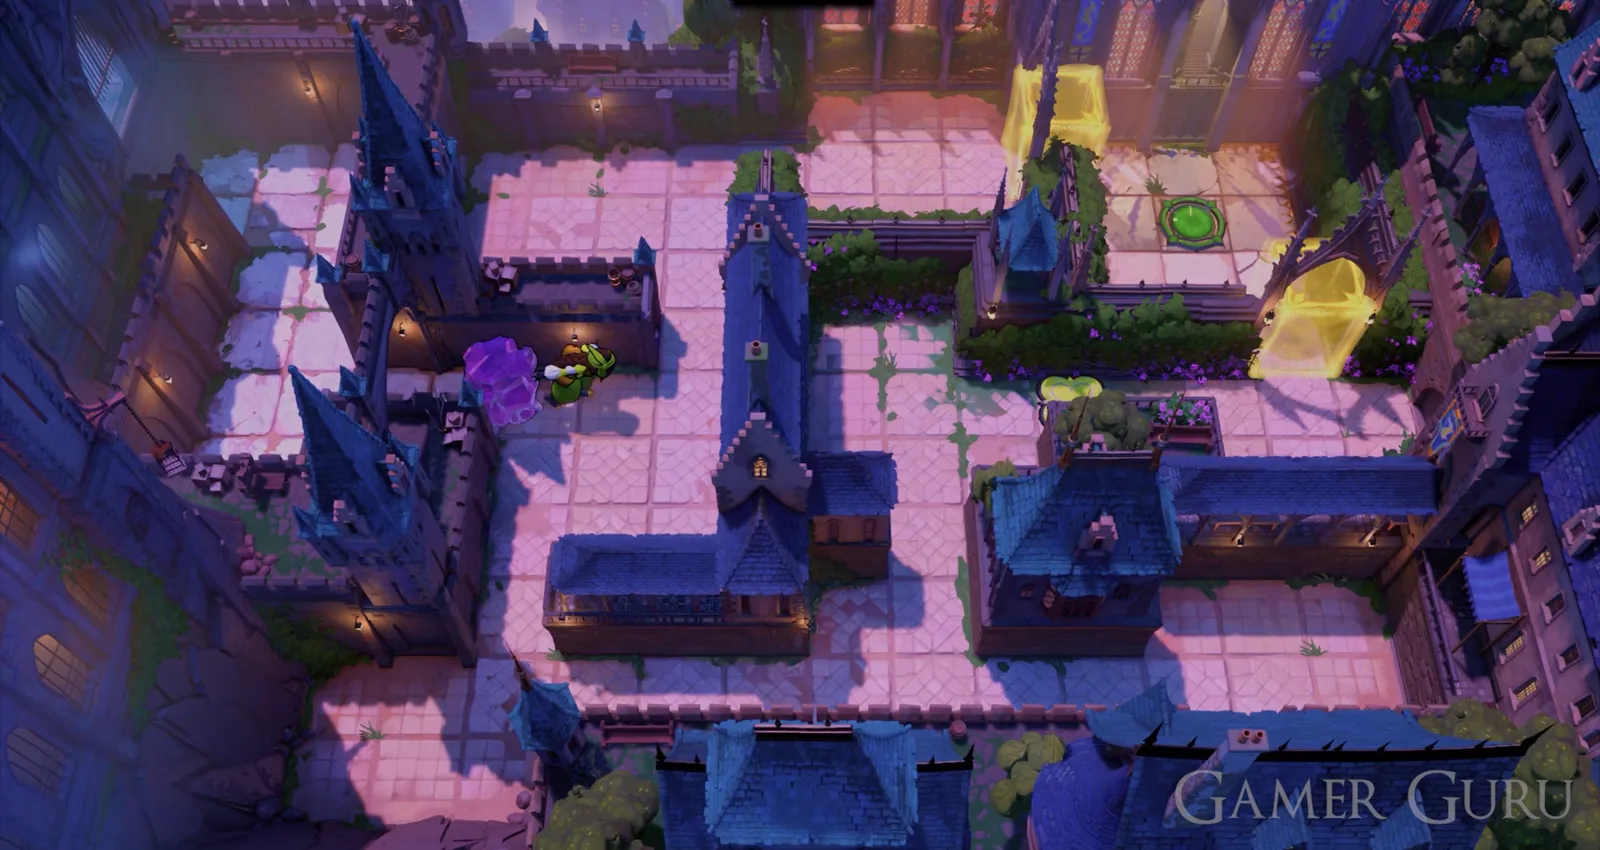
An early Heroes of Hauling room. Crystals on matching buttons drop the coloured barrier, and almost every early puzzle comes down to getting the right crystal onto the right button.
The heroes
| Cloak | Likely hero | Power |
|---|---|---|
| Red | Valens | Pushes crystals and other objects |
| Green | Tif | Can only pull |
| Purple | Isidore | Swaps places with the object he presses toward |
Walkthroughs only use the colours. The names come from matching each power to the PlayStation Blog's descriptions of Valens, Tif and Isidore. On Screen 1 each series uses one hero: the middle series is red, the right series green and the left series purple.
How to read the steps: a direction on its own means one square. "x3" means three squares. "All the way" means keep moving until something stops you. Heroes are named by cloak colour, the way the game shows them: red pushes, green pulls, purple swaps places with whatever he presses toward.
Screen 1
Screen 1 has three series of four puzzles, one per hero. Clear all three to open the path north to Screen 2.
Middle series (red)
Puzzle 1. Push both crystals right and walk to the teleporter.
Puzzle 2.
- Push the first two crystals right twice, then push the right-hand one down into the next chamber.
- Push that chamber's bottom crystal all the way down.
- Push the crystal to your left down.
- Push the row of three crystals left twice. Go up and all the way left until you are above the blue crystal, then push it down.
- Push the two-crystal row left twice to reach the last chamber, push the crystal sitting on the teleporter down, and step on.
Puzzle 3. Stand right of the crystal and push it left four times onto the yellow button. The barrier drops; walk to the teleporter.
Puzzle 4.
- Push the crystal beside you right twice, then down three times so it rests between the second and third buttons.
- Push the middle crystal down twice so it rests between the first and second buttons.
- Push the right crystal right onto the right button, then the middle crystal right onto the middle button.
- Push the left crystal down twice onto the left button. The barrier opens.
Right series (green)
Puzzle 1. Pull both crystals left and walk to the teleporter.
Puzzle 2.
- Pull the first crystal all the way left.
- From its right side go right twice and down into the second chamber.
- Go right, up, right, up to shift the crystal blocking the third chamber, then left twice, down twice and right five times to get under that chamber's crystal.
- Go down twice and left to drop it in the bottom-right chamber. Step down and right onto the yellow button, then pull the pink crystal up onto it.
- Next to the blue crystal on the next chamber's left side, pull it all the way right, then pull it down.
- Pull the pink crystal blocking the teleporter all the way right and walk out.
Puzzle 3. This one moves a single crystal around the whole room. From each listed side, pull in the listed direction:
- Right side: pull right once. Underneath: pull down once.
- Left side: pull left three. Underneath: pull down four.
- Left side: pull all the way left. Top: pull all the way up.
- Left side: pull left once. Underneath: pull all the way down.
- Right side: pull right four. Underneath: pull all the way down.
- Left side: pull left once. Right side: pull all the way right.
- Left side: pull left four. Top: pull all the way up.
- Right side: pull all the way right. Left side: pull left three, then step down to leave the crystal on the button.
- Go to the top room and through the open barrier to the teleporter.
Puzzle 4.
- Pull the bottom-right crystal all the way down, then from its left pull it onto the left button.
- Pull the right crystal all the way down, then from its right pull it onto the middle button.
- Take the last crystal on a tour: all the way right, then down, all the way right, left, all the way down, and finally right onto the right button.
- Go up to the teleporter.
Left series (purple)
Puzzle 1. Swap through the two crystals to reach the teleporter.
Puzzle 2. Swap the crystal step by step toward the yellow button:
- From under the crystal, press up to swap.
- Go up, right four, down two and press left to swap.
- Go up two, all the way right, down, right three, down four, left four and press up to swap.
- Go right, up, right three, down four, right one and press left to swap.
- Go up four, right four, all the way down and right one onto the yellow button, then press up to swap the crystal onto it. Walk left to the teleporter.
Puzzle 3. Walk to the bottom-left green button (left three, down five, left one). Then press right, up, up, right, right to swap all the way into the teleporter room, and walk down, left, up onto the teleporter.
Puzzle 4. The trick is moving between swaps without accidentally swapping.
- Walk left, down three, right onto the left button and press up to swap.
- Walk left, down, right two, down, right to the middle button and press left to swap that crystal onto it.
- Walk up, right, down and press up to swap, then walk left, down two and press right to put the crystal on the left button.
- Walk down, all the way left, all the way up, all the way right and down so one empty square separates you from the last crystal. Press left to swap.
- Walk down, right two, down two and press up to swap, then left, down, right two, down two and press left to drop it on the right button.
- Go to the teleporter.
Screen 2
Screen 2 mixes the heroes. It has a four-puzzle bottom series, two single puzzles and a three-puzzle left series.
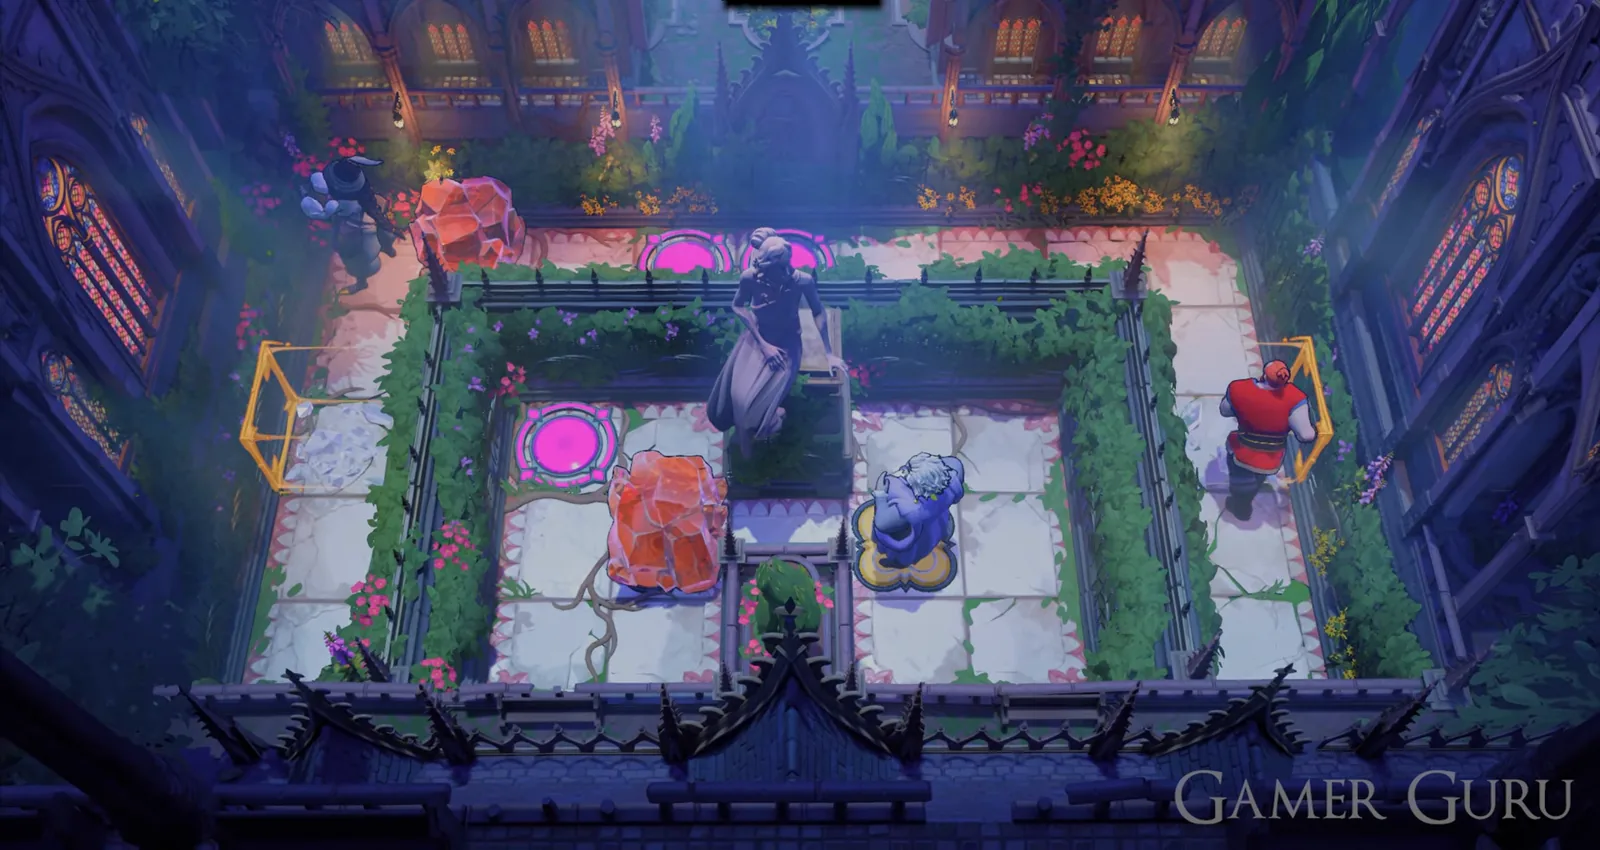
Later Heroes of Hauling rooms split the heroes into separate cells. You switch between them, and one hero often has to free another before anyone can reach a teleporter.
Bottom series
Puzzle 1. Put red on the top button and purple on the bottom one. Purple presses up to swap with red. Red walks to the bottom teleporter. Purple moves above the top teleporter and presses down twice to swap onto it.
Puzzle 2. Red and green pass two crystals back and forth.
- Red pushes the crystal right, green pulls it all the way down, then red pushes the second crystal onto the top yellow button.
- Green steps left. Red pushes the first crystal down next to green, and green pulls it all the way left.
- Red steps into green's alcove. Green moves all the way right, dragging the crystal into the hallway, then steps up to let go. Red pushes it right.
- Green moves up and right, pulling it out of the way. Red pushes it up beside green, and green pulls it all the way right.
- Green moves left of the bottom button and red pushes the crystal onto it. Both walk to the teleporters.
Puzzle 3. Green pulls while purple uses swaps to set up each pull.
- Green moves left of the top crystal. Purple presses right twice to swap into the right corner.
- Green pulls the crystal left. Purple presses left to swap with it, then walks down three out of the corridor.
- Green pulls it left twice. Purple presses up to swap it into the button row, then steps right. Green pulls it left twice onto the left button.
- Purple goes down to the bottom crystal's left and presses right to swap. Green pulls it up twice, then all the way right.
- Purple stands above the right button and presses down to swap with green, then left to swap with the crystal. Green pulls it onto the right button.
- Purple stands between the teleporters and green moves left of the left crystal. Purple presses right to swap places with green, and both step on.
Puzzle 4. Put red in the top-right corner of the button alcove. Purple stands on the button and presses right to swap with the crystal. Red moves to purple's left, purple presses left to swap with red, and both head to the teleporters.
Bottom-right single puzzle
- Purple moves above his crystal and presses down to swap. Then left, up, left two onto the left yellow button, and he presses right to put the crystal on it.
- Without swapping, purple walks up, left, down onto the right yellow button.
- Red pushes his crystal up into the right barrier's square. Green pulls hers down twice into the left barrier's square.
- Purple steps up off the button. The barriers rise and crush both crystals. Step purple back on.
- Green pulls the last crystal all the way left and steps down. Red pushes it left and green pulls it down into the left barrier square.
- Purple steps off and back on again to crush it. Red and green walk to the top teleporters and purple takes his own.
Reaching the top-right puzzle
The top-right puzzle is cut off on the overworld, so you open it with all three heroes in turn:
- Enter through the centre opening to become green and pull the bottom-right crystal all the way left.
- Re-enter through the left opening as red and push it right three times to the foot of a vertical corridor.
- As green, pull it all the way up the corridor. As red, push it up so it sits left of the crystal behind the fence.
- Enter through the right opening as purple. Go up to the crystal row and press right to swap with the crystal you just moved.
- Go all the way down and all the way right, then press up to swap with the crystal next to the puzzle.
Top-right single puzzle
- Green pulls the crystal all the way right, then walks all the way down. Purple moves right of it and presses left to swap.
- Green pulls it down five times and steps left. Purple presses down to swap with it, steps down and presses up to swap again so it sits right of green.
- Green pulls it all the way left and red pushes it onto the yellow button to remove the barrier.
- Purple goes down to red's row, presses left to swap, then steps up. Green steps right and purple presses down to swap with her, which gets her to the teleporters without moving the crystal.
- Red and purple walk to the teleporters.
Left series
Puzzle 1. Put purple on the left blue button, green on the middle and red on the right. Purple presses up to swap with the crystal, green steps down and red pushes the crystal onto the right button. Then red takes the left button and green the middle, purple presses down to swap with red, and the three go to the top-right, middle and remaining teleporters.
Puzzle 2.
- Purple goes all the way left and presses down to swap with green. Green pulls both crystals down into the teleporter row.
- Green moves above purple and purple presses up to swap. Purple goes to the left crystal's left side and presses right to swap, then stands between that crystal and green and presses down.
- Green steps right and purple presses up, which swaps the crystal into the bottom-left cell.
- Without swapping, purple walks up, right two, down two, right two, up to reach the right crystal's right side and presses left. He then stands between it and red and presses down.
- Red steps left and purple presses up to swap that crystal into the bottom-right cell. Everyone walks to the teleporters.
Puzzle 3.
- Red pushes his crystal onto the top-right yellow button of his cell, then stands on the bottom-left button. Green pulls hers onto the yellow button on the left side of the cell, then stands on the top-right button.
- Purple swaps his crystal onto the bottom-right button (down, left, down, right two, up), stands on the top button and presses down to swap the crystal onto it.
- Purple moves left of green and presses right to take her place on the button. Green walks all the way down and back up, dragging a new crystal into her cell.
- Purple swaps this crystal onto the top-right button (down, left, up, right, down). Purple and green leave the cell.
- Green pulls the last bottom crystal up into the teleporter row, two squares left of the left teleporter. Purple goes to its left and presses right to swap.
- Purple walks into red's cell, stopping just above the yellow barrier, and presses down to swap the crystal in. Red pushes it onto the button he was standing on, which frees him. All three go to the teleporters.
Opening Heroes 2: Monsters
Push the red crystal in the bottom-right corner of the overworld onto the blue button beside the left series. The blue barrier drops and the path to Heroes 2: Monsters opens.
Video solutions
Gamer Guru's video shows all 22 Heroes of Hauling puzzles. The last one, number 22, can only be reached after you finish the final puzzle in Heroes 3: Bard, Druid.
| Puzzle | Video time |
|---|---|
| 1 | 0:00 |
| 2 | 0:24 |
| 3 | 0:39 |
| 4 | 0:54 |
| 5 | 1:22 |
| 6 | 1:36 |
| 7 | 2:04 |
| 8 | 2:57 |
| 9 | 3:39 |
| 10 | 3:57 |
| 11 | 4:28 |
| 12 | 4:45 |
| 13 | 5:38 |
| 14 | 6:12 |
| 15 | 7:15 |
| 16 | 8:14 |
| 17 | 8:47 |
| 18 | 10:26 |
| 19 | 11:37 |
| 20 | 12:35 |
| 21 | 13:24 |
| 22 | 15:06 |