Mirrors and Stones is the area behind the MxS Gold Room in the south-east, where the Trader's mirrors from The Mirror Isles meet the Sailor's skipping stones and lily pads from Skipping Stones to Lonely Homes. GameRant counts 10 screens and 43 puzzles. Postmode calls its third part the hardest stretch so far and its last part the toughest to keep track of, and it ends with a big star puzzle that powers the MxS teleporter to the Antipode.
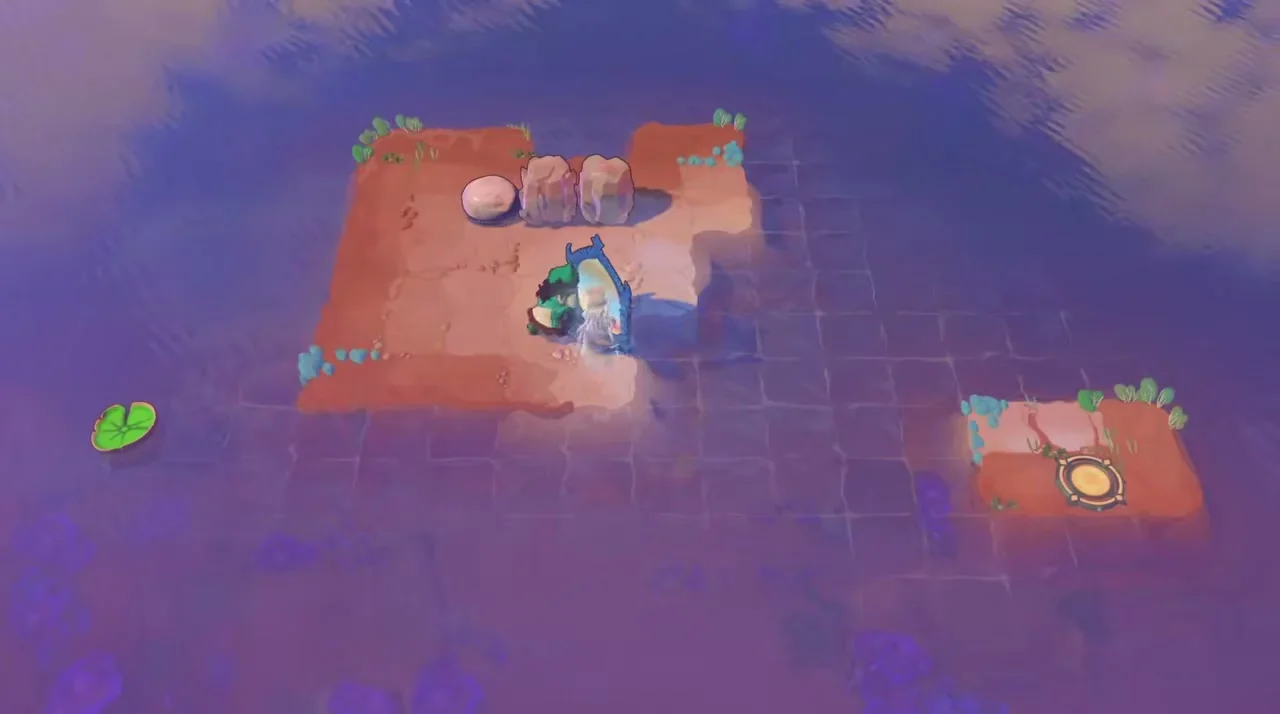
A Mirrors and Stones 1 puzzle. A mirror, a skipping stone and a lily pad on purple water, with the goal circle on the island at right. Many puzzles here are about catching something with a mirror while it is still moving.
Getting in
- Reach the gold room. Head down through Skipping Stones and fire a pebble over to the right. It makes an extra platform, which lets the mirror carry you further so you can cross to the gold room.
- Solve the room. Follow our MxS Gold Room solution for the Gold MxS achievement.
- Go down. The entrance to Mirrors and Stones is at the bottom of the gold room. Mirrors and Stones 1 is directly south of it.
What each stretch is about
Postmode's walkthrough splits the area into six parts. This is what each one asks of you:
| Part | Puzzles | The idea |
|---|---|---|
| 1 | 6 + overworld | Drifting lily pads, timed skips and mirrors. Often you skip a stone carrying a gem onto a lily pad, then move a mirror so it catches the gem mid-move and drops it where you need it. The overworld link here is easy to miss. |
| 2 | 4 + overworld | Keep a skipping stone moving. Mirrors extend its momentum past its normal range or redirect it mid-skip somewhere it could never reach in a straight line. |
| 3 | 6 + overworld | Use stones as bridges across gaps so the Trader can reach the exit. Postmode calls it the hardest stretch so far. |
| 4 | 4 + overworld | Put mirrors on lily pads and send them out into the water so they hit something else. The Sailor works alone in some puzzles and with the Trader in others. |
| 5 | 7 + overworld | Big open water and chains of mirrors that reflect into each other while you ride the lily pads. The order you set the mirrors up in matters as much as the angles. |
| 6 | 4 + overworld | Reflect things while they move on lily pads, then run to push something else while that piece is still moving. It ends with the big star puzzle in the centre. |
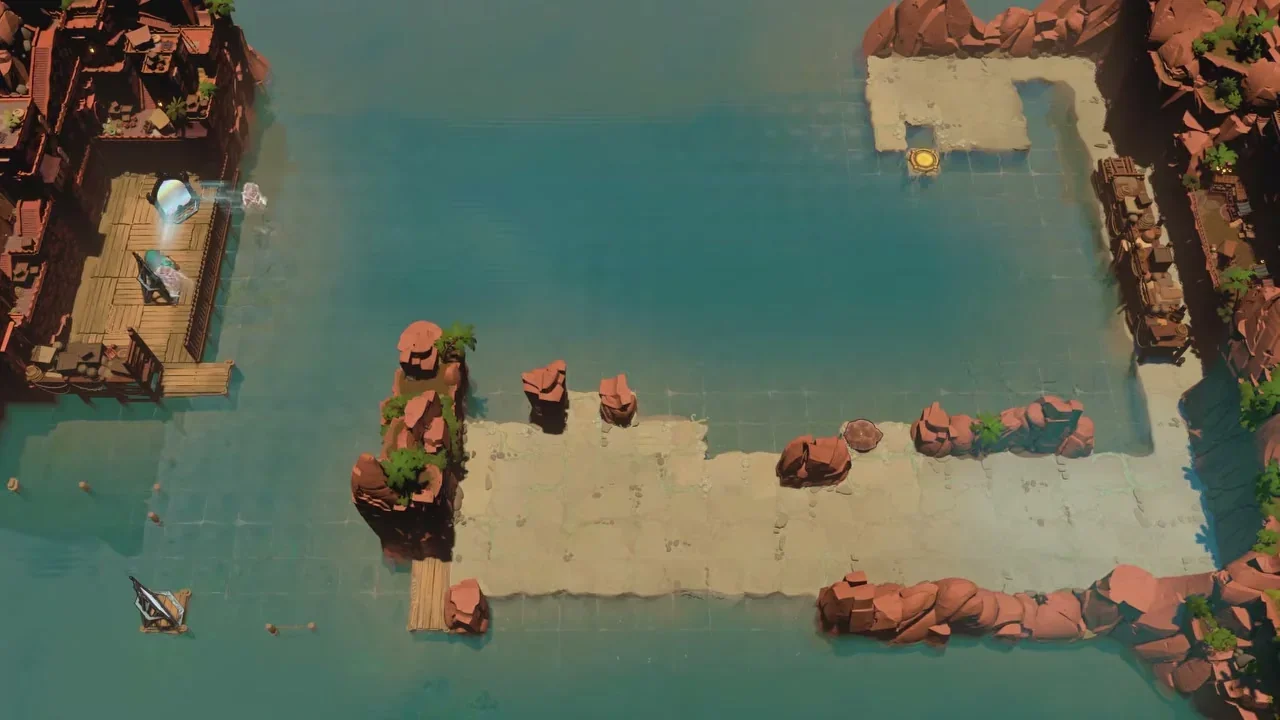
Mirrors and Stones 5. Wide open water, a mirror on the dock at the left and a long sandbar. Chains of reflections across this kind of open water are what this part is about.
Screen by screen (GameRant layout)
| Screen | Puzzles | Key idea |
|---|---|---|
| 1 | 1 | Mirrors and a lily pad bring a crystal over to the orange character's land. Sinking it opens the way to the teleporter. |
| 2 | 5 (bottom-left 3, bottom-right 2) | Free lily pads with mirrors and stones, and sink crystals with mirror triggers. The bottom path leads to Screen 3. |
| 3 | 2 | Send a crystal through a mirror to divert the water, then ride a lily pad. Rocks in the water change the current. |
| 4 | 6 (left 4, right 2) | Crystals, rocks, stones and pads. Left 4 coordinates three lily pads with a mirror. Right 2 sinks objects into three currents to block them. |
| 5 | 3 | Line up five crystals and sink them one by one, then divert water with a rock. Afterwards, go back to Screen 2's right path to reach Screen 6. |
| 6 | 4 | Skipping crystals pass through mirror teleports to build a path. Puzzle 3 frees an overworld skipping crystal. |
| 7 | 6 (bottom-right 2, bottom-left 4) | Multi-character sequences. Bottom-left 2 is the longest and frees a crystal that fills a gap on the path. |
| 8 | 4 | Time teleports with crystals and pads. In the middle puzzle, two mirrors duplicate a skipping crystal. |
| 9 | 7 | Mirror chains. The top-right puzzle is a long one that uses two mirror clones and a reset square. |
| 10 | 5 | Lily pad timing. Move two pads in the same row, then teleport out. |
GameRant counts 43 puzzles over 10 screens. Postmode's six parts add up to 31 puzzles plus overworld puzzles, and the sinkingstarguide.com map lists 29 "Mirrors And Stones" locations. Each source draws the line between a puzzle, an overworld puzzle and a separate area in a different place.
The star puzzle and the Antipode
Solving the final big star puzzle in the centre of Mirrors and Stones 6 gave Postmode their seventh lectern seal. Seven seals unlock the teleporter in the MxS gold room. Go back to the gold room, use the teleporter, and you reach the Antipode and unlock Antipode MxS. Depending on the order you play in, your seventh seal might come from somewhere else. Our Antipode guide explains how the teleporters lead to the first ending.
Solution videos
Mirrors and Stones 1:
Mirrors and Stones 6, with the star puzzle and the Antipode MxS teleporter:
Parts 2 to 5 are on the same Postmode channel, each titled "Mirrors and Stones [number] Walkthrough".
Sources: area themes and the seal and teleporter details from Postmode's no-commentary walkthrough videos and their descriptions. Screen layout and puzzle counts from GameRant's Mirrors and Stones walkthrough, rewritten in brief. Press undo and compare with the videos if a step does not match your screen.